
Shaun Garrity slots together a quick build R/C combat wing.
Words & Photos: Shaun Garrity
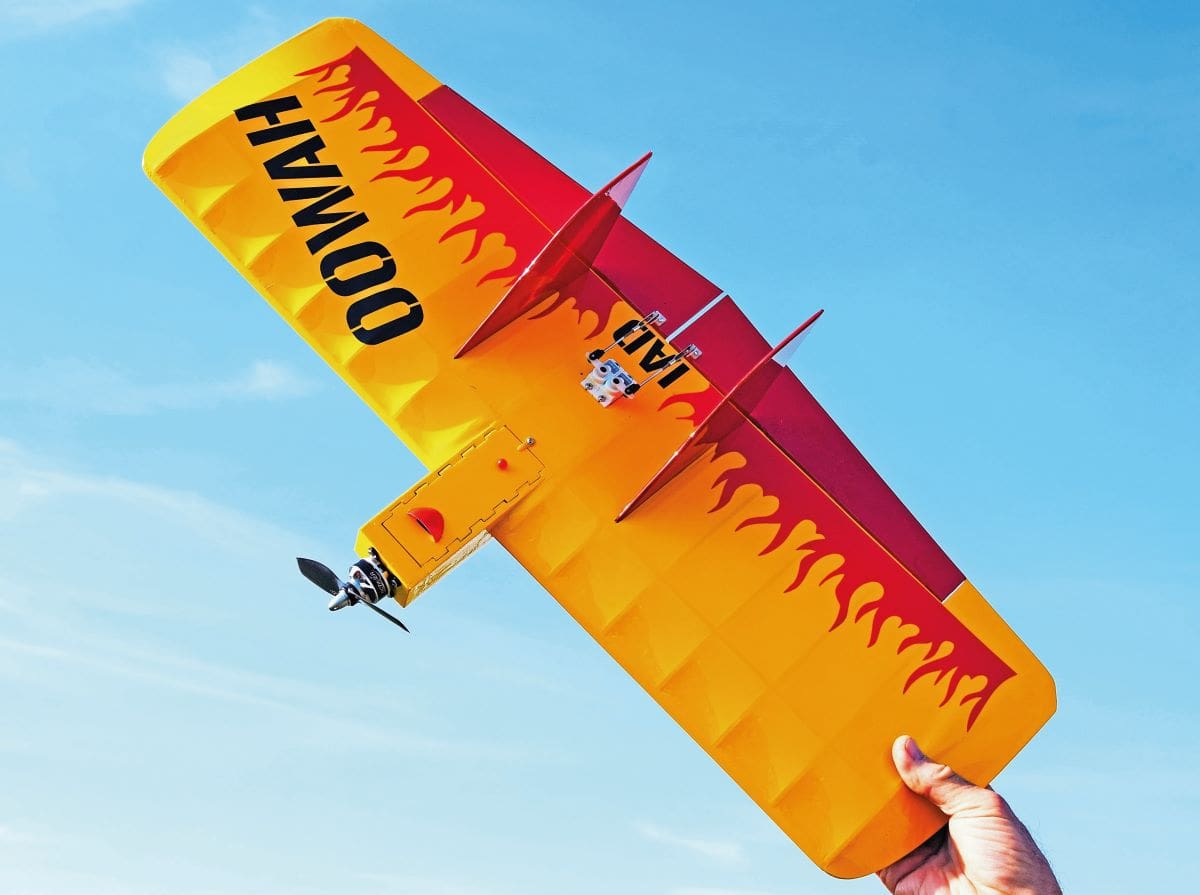
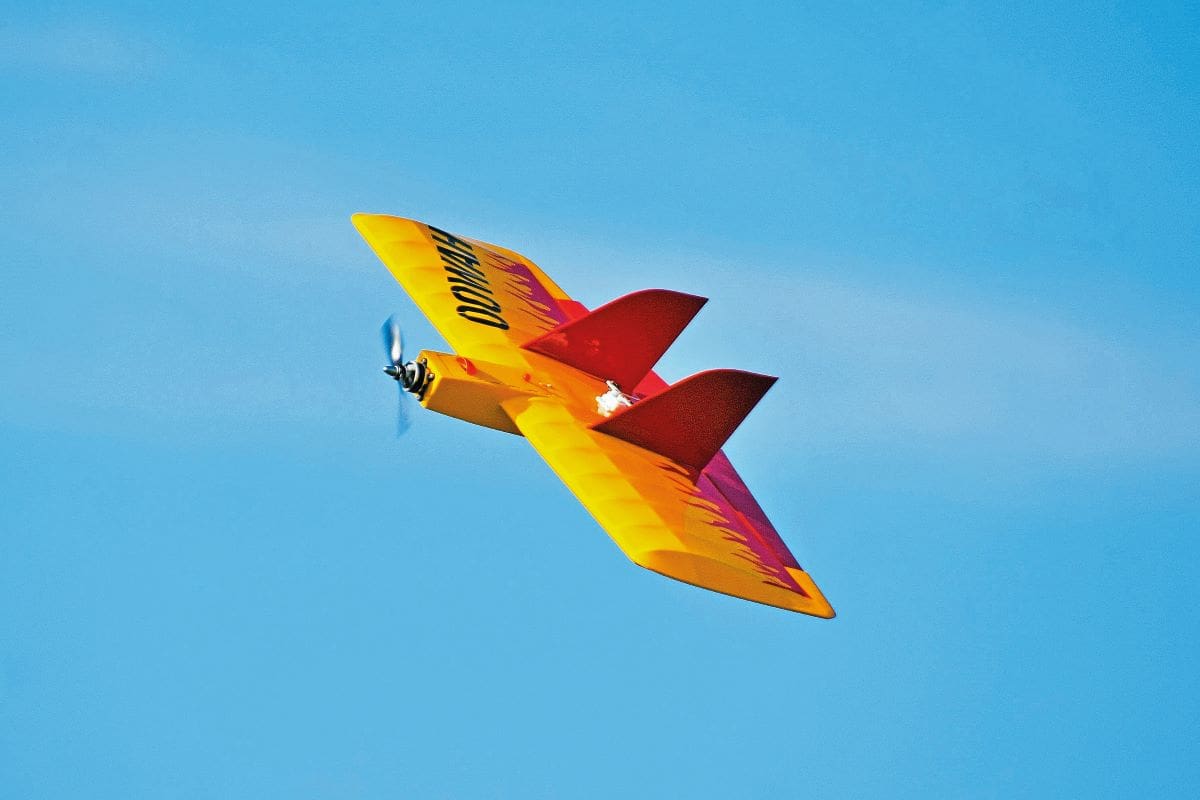
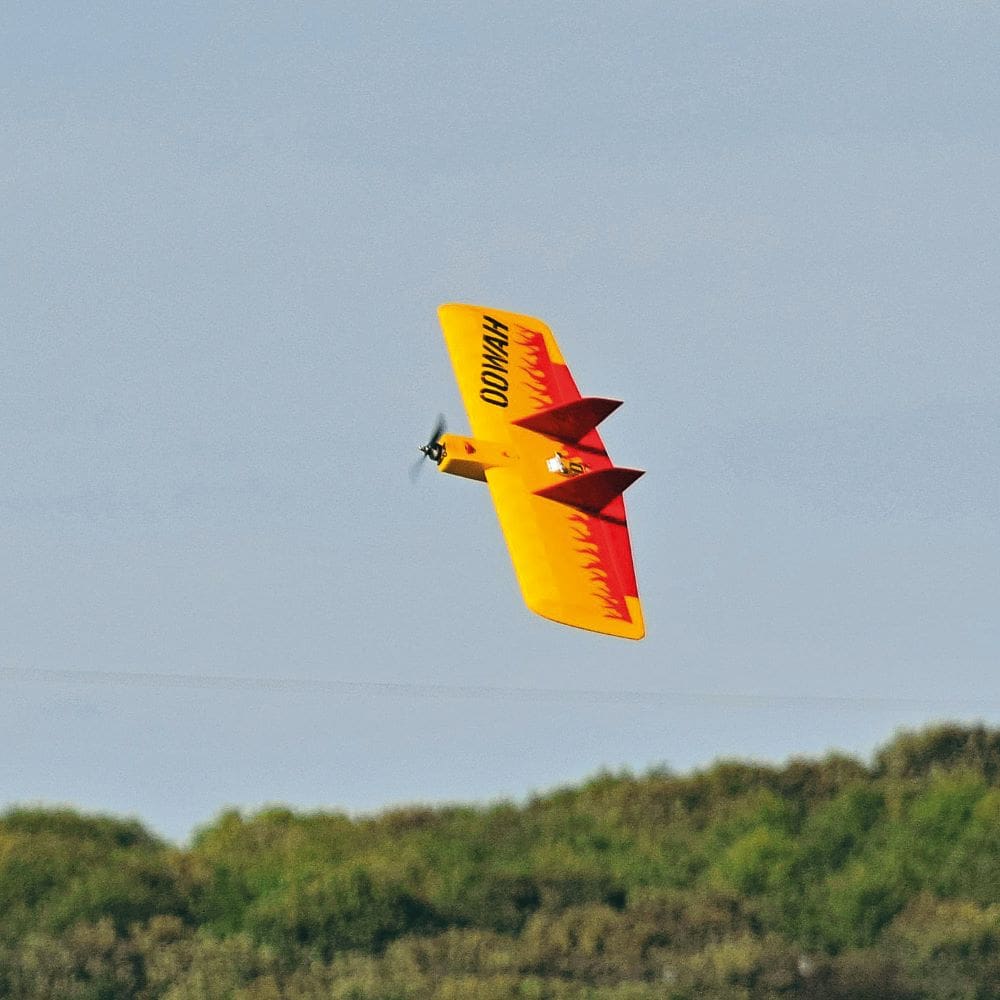
According to urban dictionaries ‘Oowah’ is a term generally said when you see something awesome, spectacular or cool and it is a perfect name for this model because it describes it to a tee. It’s one of a range of easy built combat wings, the others being the Boohoo, Toowah and Woohoo all available from I.A.D. Mosdel Designs. The original Oowah was designed by Andy Whitehead and then modified for laser cut kit production by I.A.D. Such was the popularity of Oowah that the range was expanded by them to include a larger version called Boohoo, plus two twins, Toowah and Woohoo.
Enjoy more RCM&E Magazine reading every month.
Click here to subscribe & save.
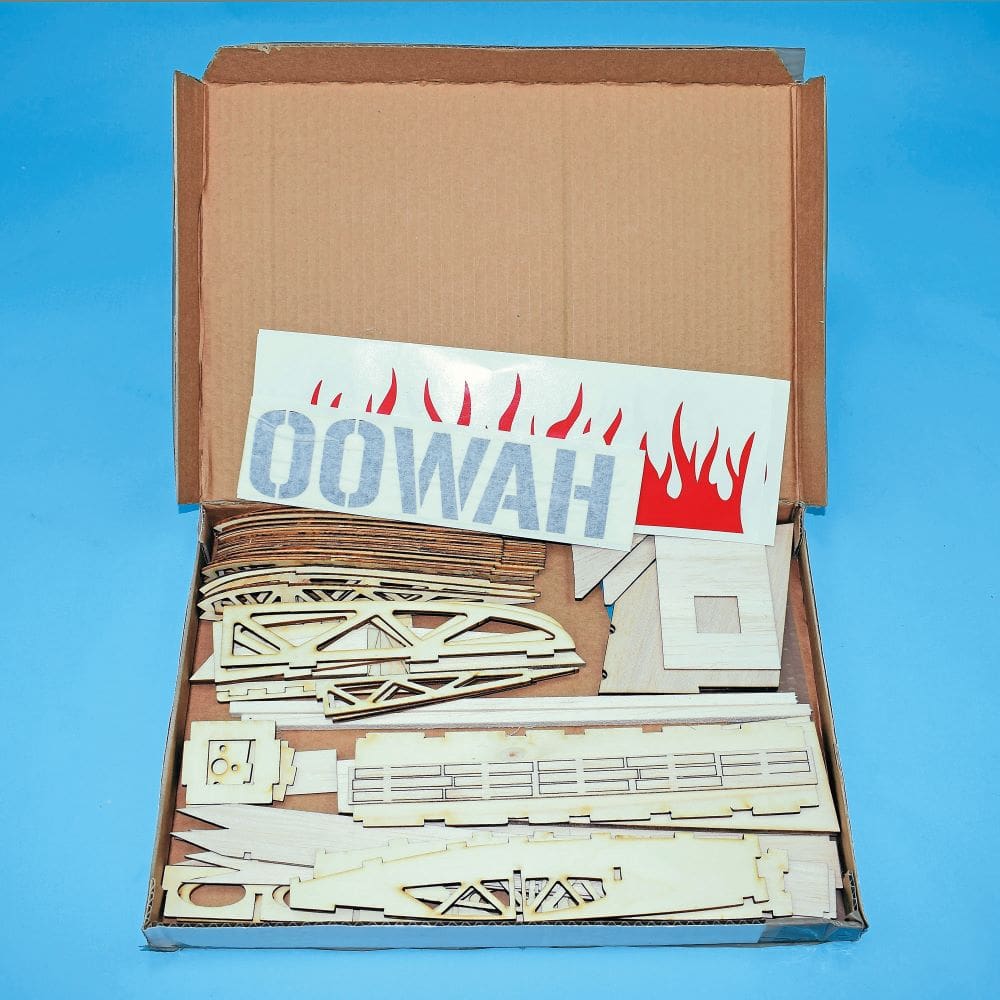
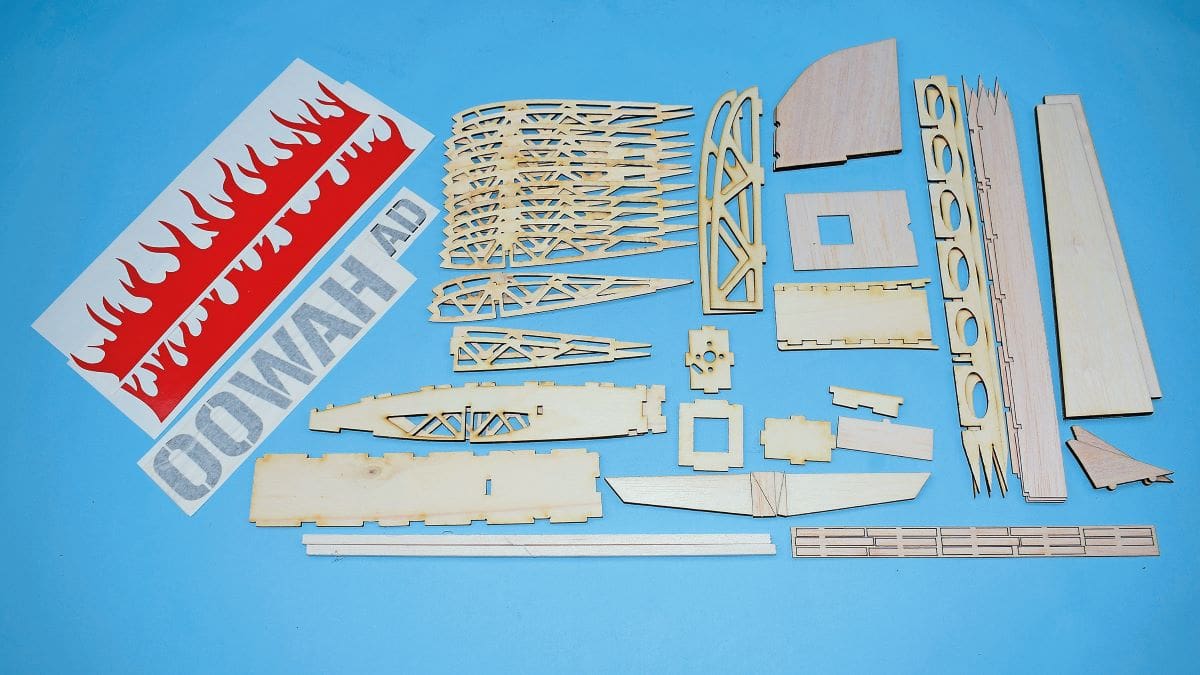
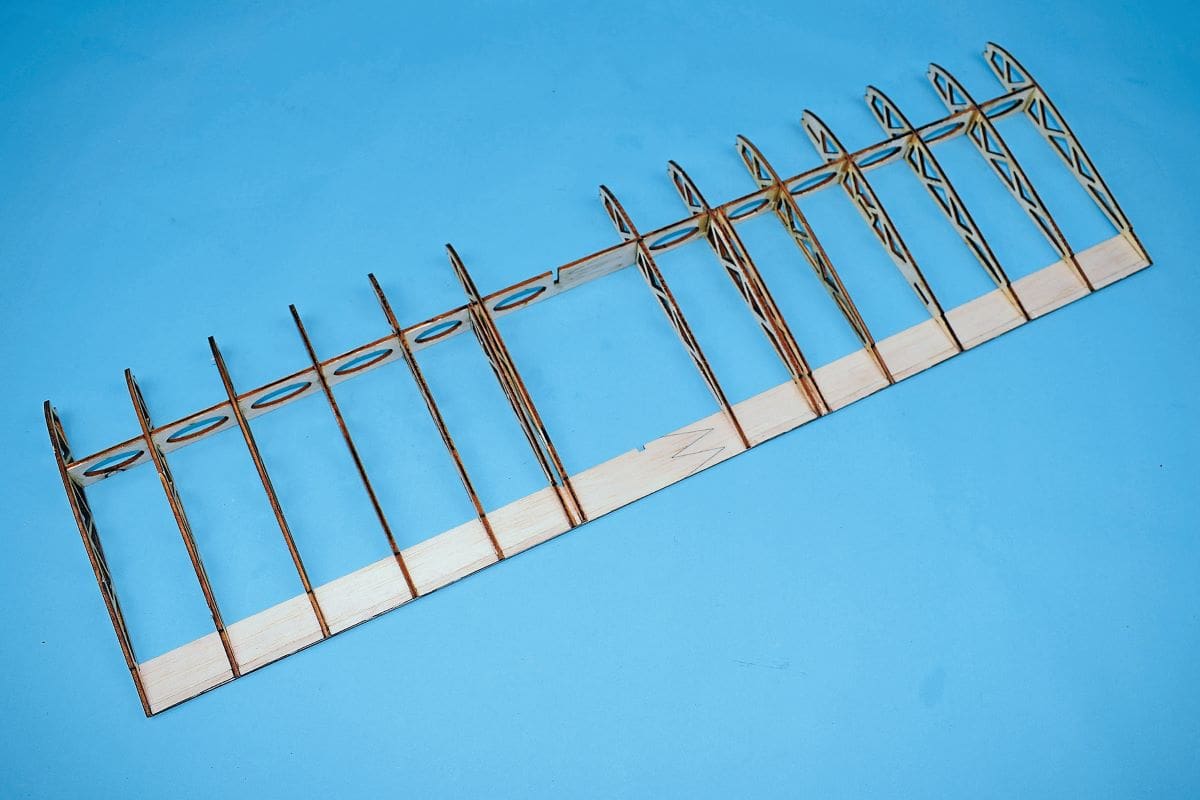
The laser cut kits use mostly lite ply for the ribs, spar, wing tips and fuselage, with balsa for the elevons and fins. When assembled it all makes for a very robust aircraft. You can see from the kit parts photo that a lot of unnecessary material has been removed and it certainly keeps the weight down, but with negligible compromise to the strength.
Unusually, the kit doesn’t include a plan, but this isn’t an issue and is intended because there’s a Facebook group dedicated to the build of the various models. Additionally, you can download the plan in tile form from this group, but it is essentially a guide and, genuinely, you don’t need a plan. However, there is a caveat – Oowah is designed for intermediate builders and pilots.
MAKING SMALL BITS BIGGER!
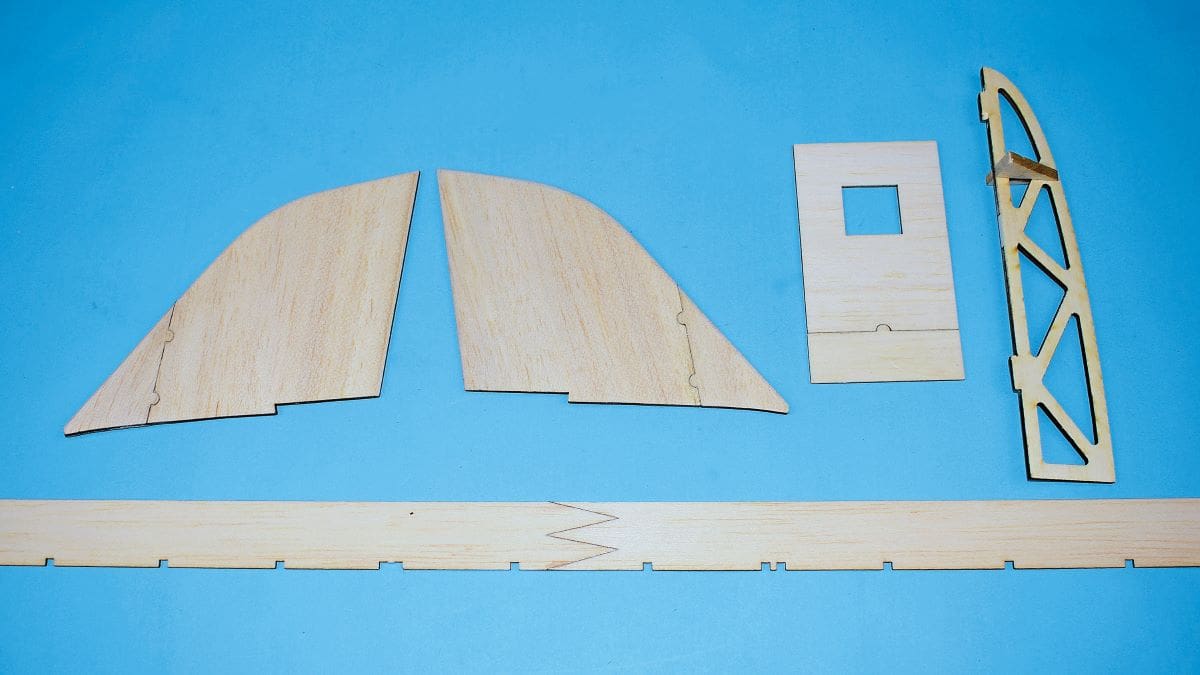
The quality of the laser cut parts is good and a credit to I.A.D. You start by making the spar joining the two parts together, along with the trailing edges. Ensure this is accurately done so the finished wing doesn’t emulate a banana. Same procedure for the trailing edge sheeting.
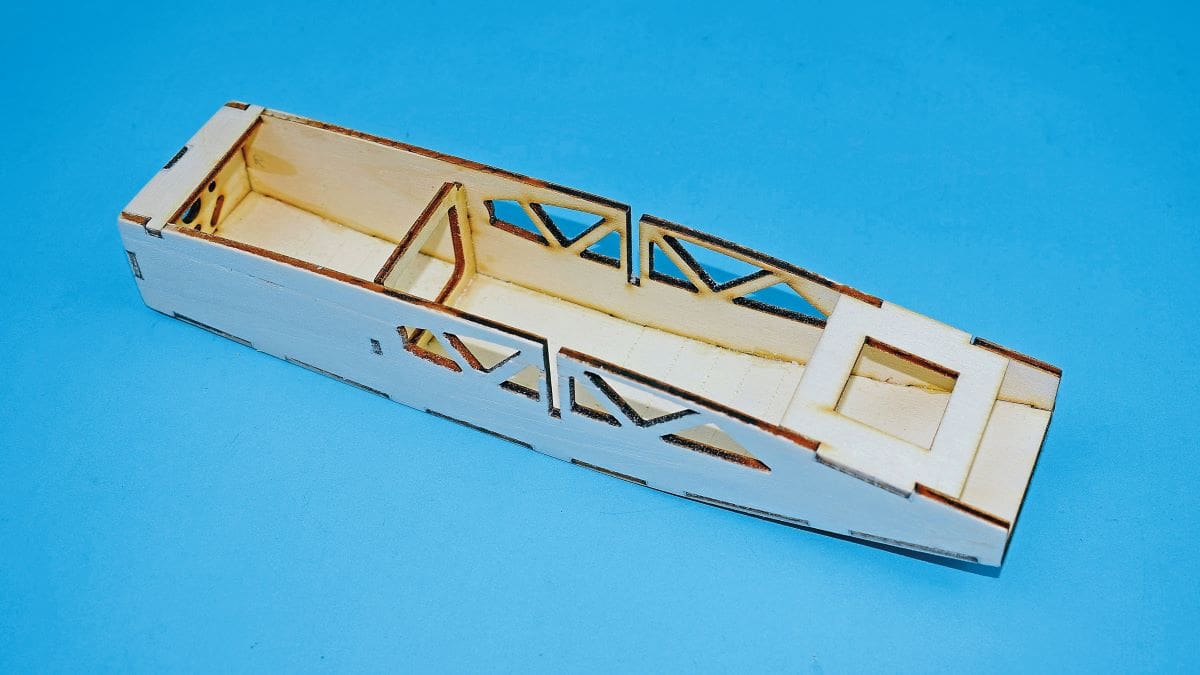
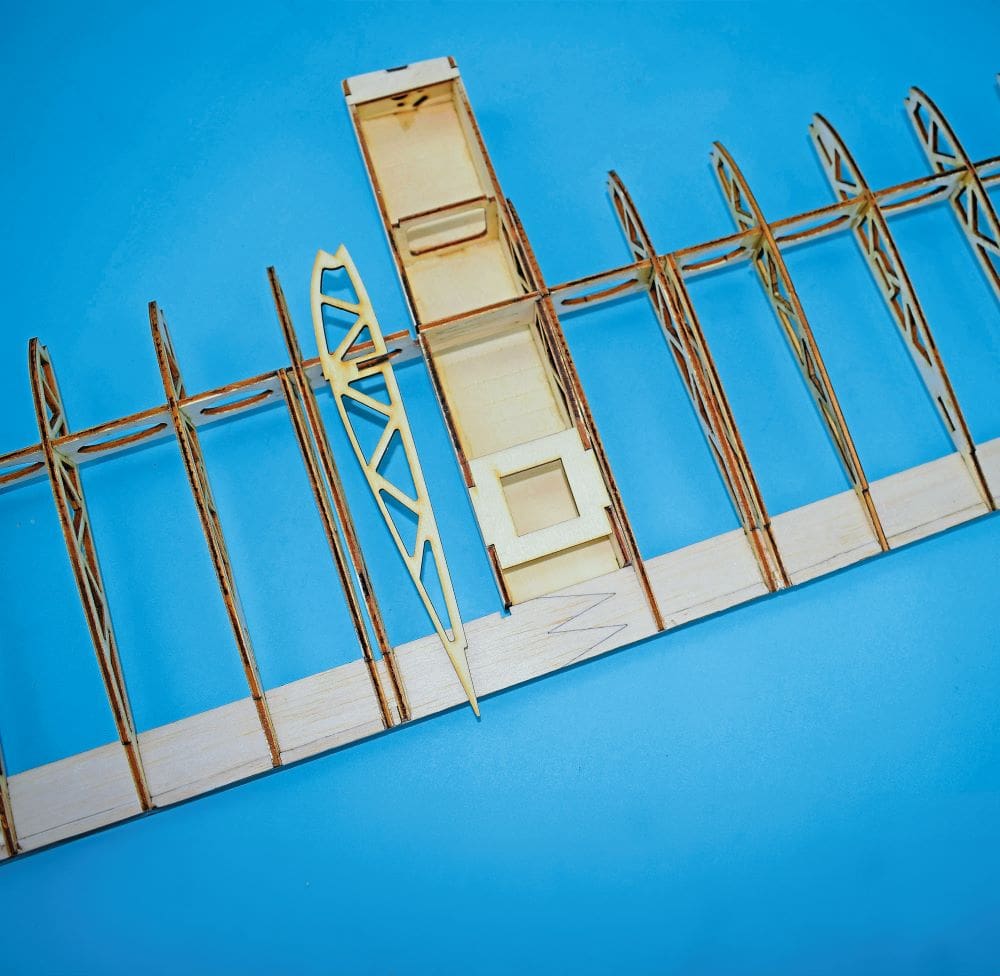
One suggestion I would make is to build the fuselage pod first before starting on the wing. The reason for this is if there’s any slight discrepancy with the inner wing ribs it could be a squeeze to fit the pod in. Make sure you have the correct right thrust when building as one fuselage side is slightly longer than the other. Also, you will note that the holes for the motor are not central. This is intended so that the prop nut ends up central on the fuselage with the built in right thrust.
Referring to the pictures of the wing you can see how easy it is to assemble but you do need to identify the tip ribs, fin doubler ribs, centre section ribs etc. before you start gluing. Everything simply slots together so line and square it all up, then use cyano wicked into the joints. As mentioned, temporarily position the pod to check the fit between the inner ribs and, if everything is fine, then glue these final two ribs in place; if not tweak as required. My build sequence was a little different to how others have proceeded but just ensure the wing is straight and true. Don’t forget to put the infill pieces between the trailing edge sheeting and add the wing tips etc., then glue the pod in position.
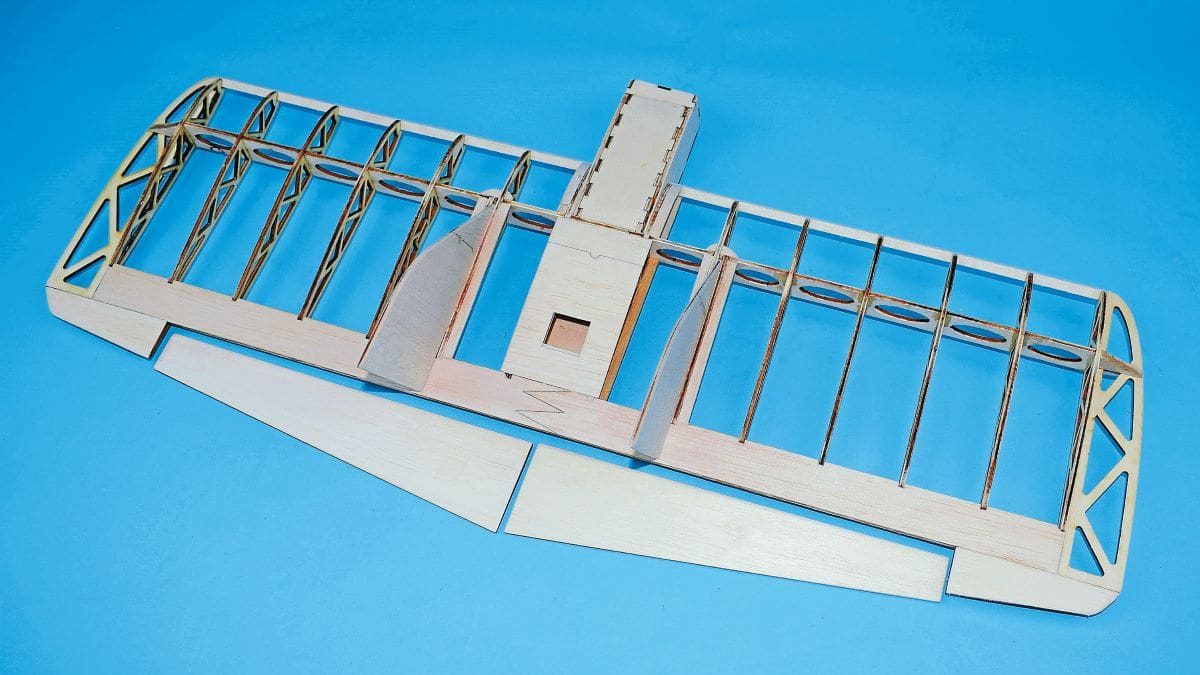

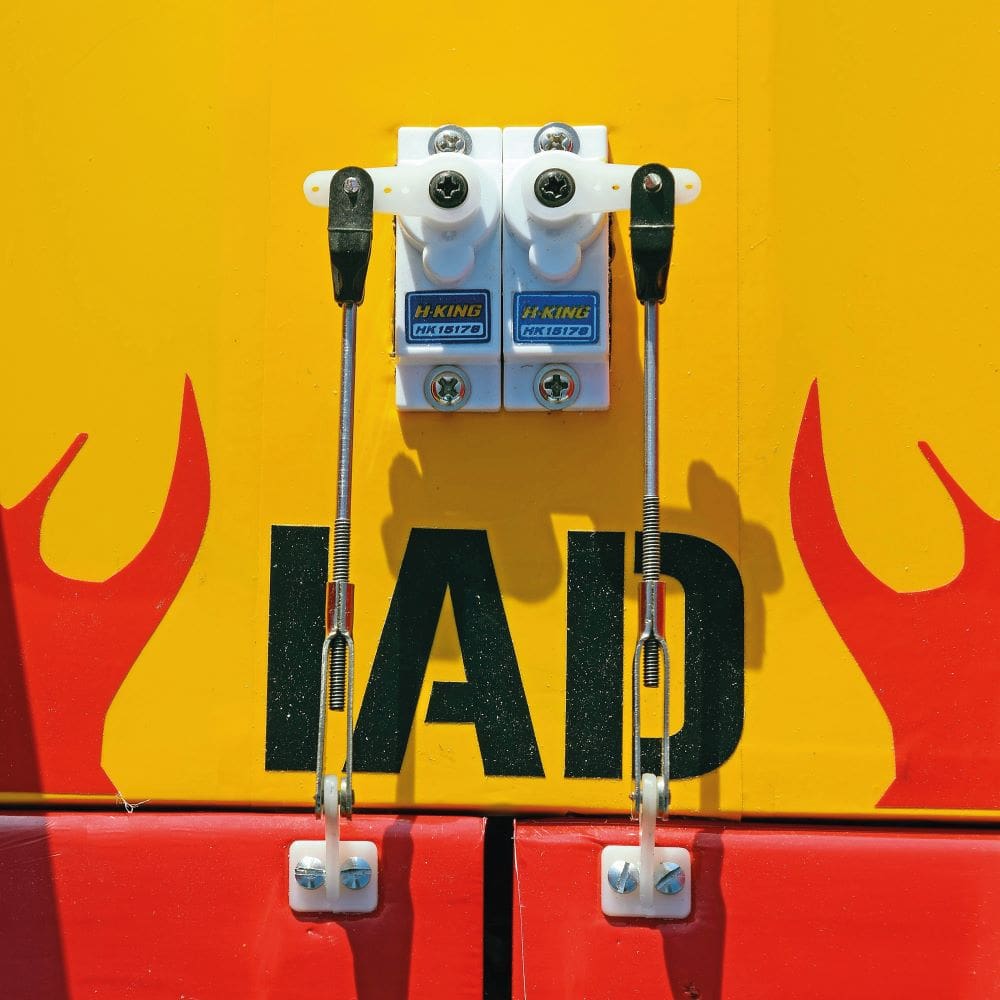
At this point I made a minor modification because I was slightly concerned that the covering, where the fins attach, could easily pull off. So, I used a 1/4” x 3/32” strip glued alongside the ribs to provide a greater area for the film to adhere to. I also did the same between the wing and pod join. It’s easier to see than explain so please refer to the relevant photo. I would also check now that your servos will fit in the space provided and if not modify.
A trick I employ on elevons is to chamfer them only on the underside as I find a touch less reflex is usually required. The fins just need rounding off on the edges; there’s no need to create a sharp trailing edge. A light sand all over the airframe will ensure no lumps and bumps will show through when covered.
COVER UP
I would film the various parts of the model before assembly as it is simpler and you will make a neater job. Pick an easily seen scheme otherwise orientation may be an issue at distance. The yellow film I used was from a roll I’ve had for over 20 years; it came from the USA, but its properties are very similar to the modern film that’s available from a number of vendors for around £25.00 for five metres. The red was Solarfilm and the flame decal is self-adhesive vinyl and is included in the kit. Don’t forget to remove any covering where these components need to be glued together.
I hinged the elevons with strips of Mylar using UHU Por, keying them first with sandpaper.
ELEKTRIKARY
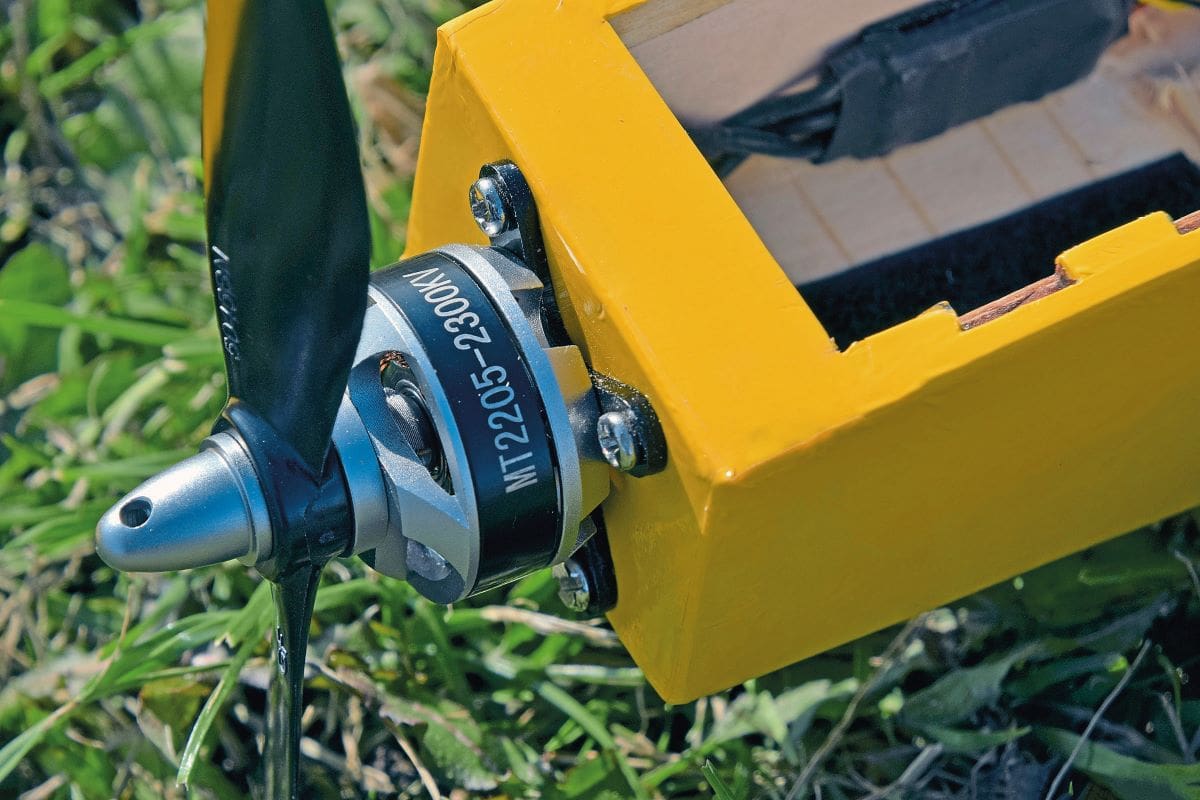
For my set up, I used a spare 2205 – 2300kV drone motor, a 6” x 4” Graupner prop, a 20 A Little Bee drone opto controller and an 800 mAh 3S LiPo. To get the 5-volt supply for the receiver and servos I made a 5V BEC from a 3A DC-DC converter. Servos were 9 g analogue types and provided plenty of authority.
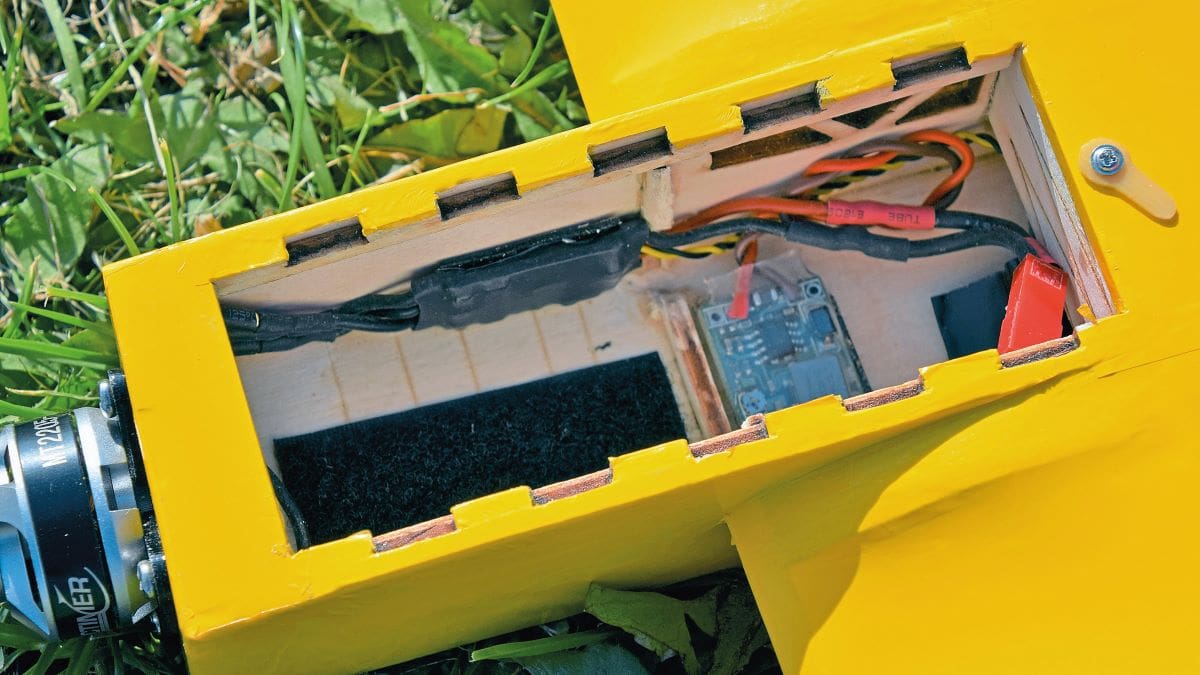
Installation was as shown in the nearby photo, but I did cut an additional cooling hole in the battery hatch and glued a simple scoop on top to channel air over the ESC and BEC. On my model the receiver is located behind the wing spar and is just pushed in. If you decide to use a larger LiPo then it may be worth adding another hatch behind the wing spar to locate the ESC etc. as it will potentially turn out nose heavy if they are positioned where mine are shown.
TIME TO FLY
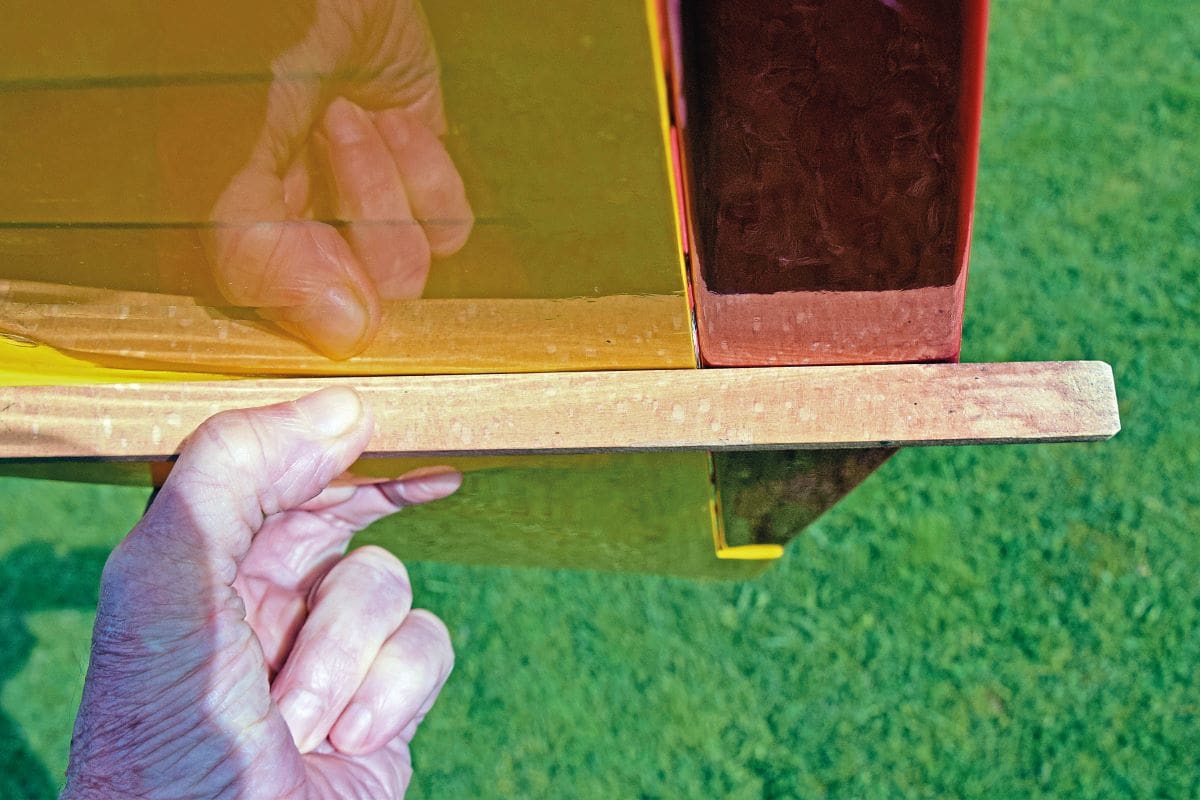
Check the elevons work correctly and, very importantly for a flying wing, that the C of G is spot on. For the test flight I had few millimetres of positive reflex (have a look at the photo showing the alignment of mine with the lower rear edge of the wing) but if you have any concerns then go old school and give it a test glide over grass.
My initial set up for control throws was as follows: 15 mm aileron, 10 mm elevator and 30% expo. These deflections are either way and measured at the widest point of the elevons. You can adjust this after a couple of settling in flights to suit your flying style. It weighed in at a scant 360 g including the LiPo.
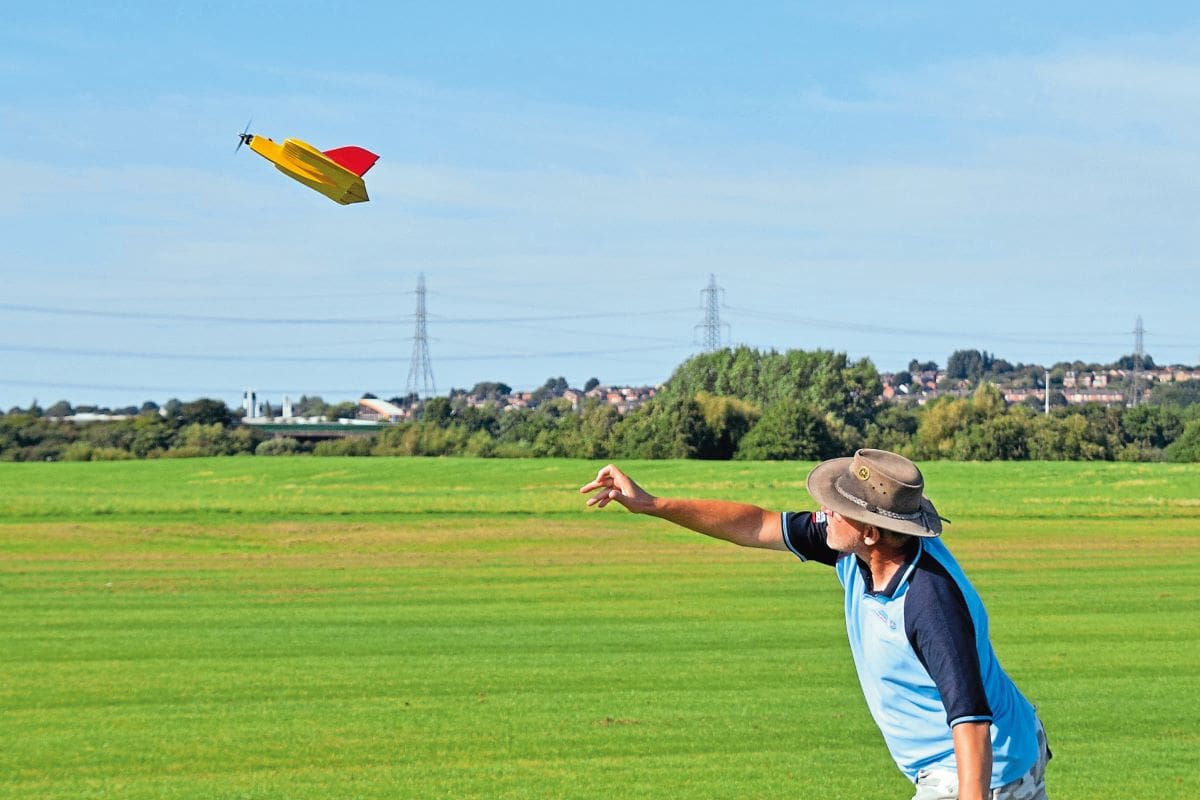
For launching, Oowah can almost just be pushed into the sky and doesn’t need to be thrown like a javelin. Mine only needed a touch of down to sort it out and it felt locked in from the get-go. It’s a hoot to fly and could easily handle more power than the set up I used, as long as you remember to keep the weight as low as possible. Speaking with Iain, he suggested an 850 mAh 4S LiPo with a 5” x 3” prop; I’ll need to move the BEC, but it will fit in and balance.
Oowah has provided me with a lot of fun for little money and I’m sure you won’t be disappointed if you buy one. In fact, have a look at the I.A.D. website for the other versions in case a twin tickles your fancy!
DATAFILE
Name: Oowah
Model type: Combat wing
Manufactured by: I.A.D. Model Designs https://www.iadmodel designs.co.uk
RRP: £45.00
Wingspan: 700 mm (27.56”)
Motor: 2400 kV
ESC: 20 amp
Prop: 5” x 3”
LiPo: 3S 1000 mAh or 4S 850 mAh
Servos: 2 x 9 g
Kit Price: £45.00
Functions (servos): Elevons (2), throttle(via ESC)


