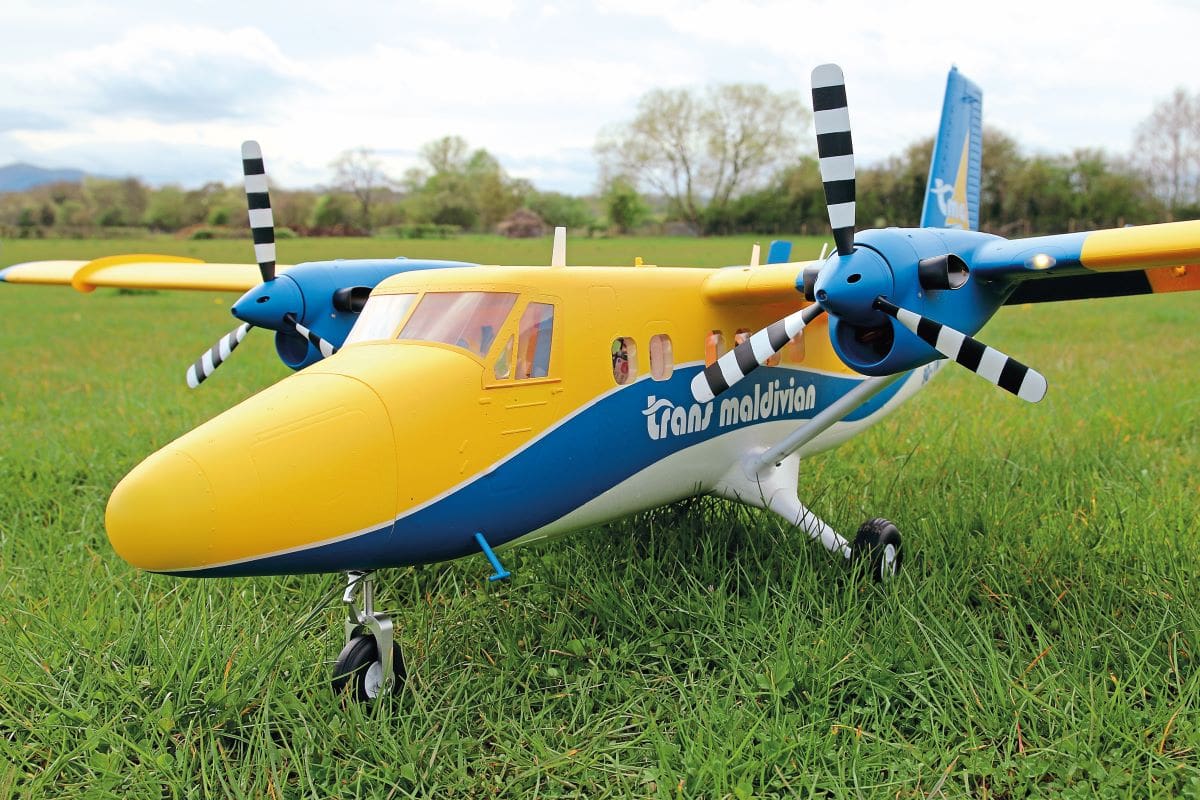
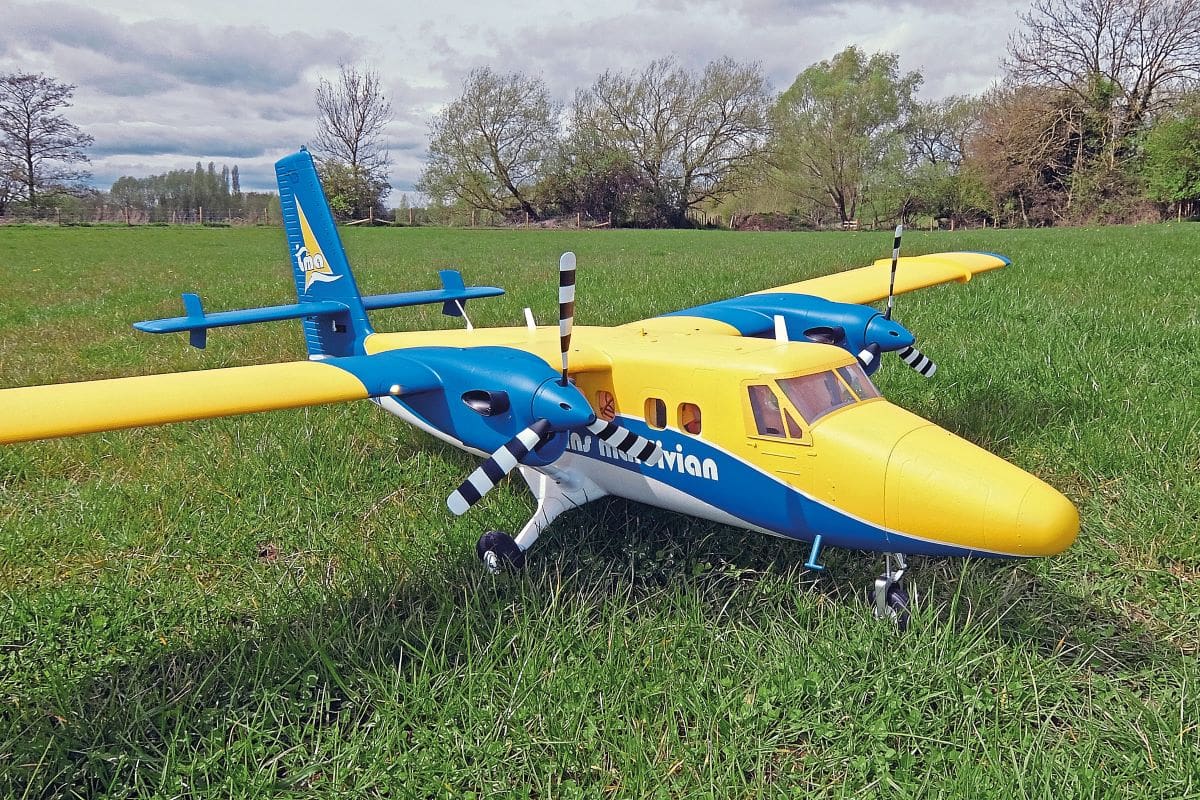
Kevin Crozier lines up XFly-Model’s 1800 mm Twin Otter on the taxiway ready for when the sun shines.
This article originally appeared in the June 2024 issue of RCM&E
Spring has well and truly arrived here in the West Midlands but sadly it hasn’t brought with it many signs of milder, drier weather – quite the reverse in fact! However, there have been a few days of light winds and sunshine between the showers and it was on one of those rare days that I stepped out with XFly-Model’s latest scale twin, a neatly moulded example of the de Havilland Canada DHC-6 Twin Otter, to take a few pictures so that I could at least write up the assembly part of this review.
Enjoy more RCM&E Magazine reading every month.
Click here to subscribe & save.
Unfortunately, the ground around here is still far too wet for many of the local model clubs to mow their flying strips, so I am having to bide my time waiting for suitable conditions in which to undertake the Twin Otter’s maiden flight. Rest assured though, as soon as a few flights have taken place and some nice flying pictures are available, I’ll be back to conclude this report. Anyway, that’s enough about the weather. Let’s take a look at how the Twin Otter goes together…
KIT DESCRIPTION
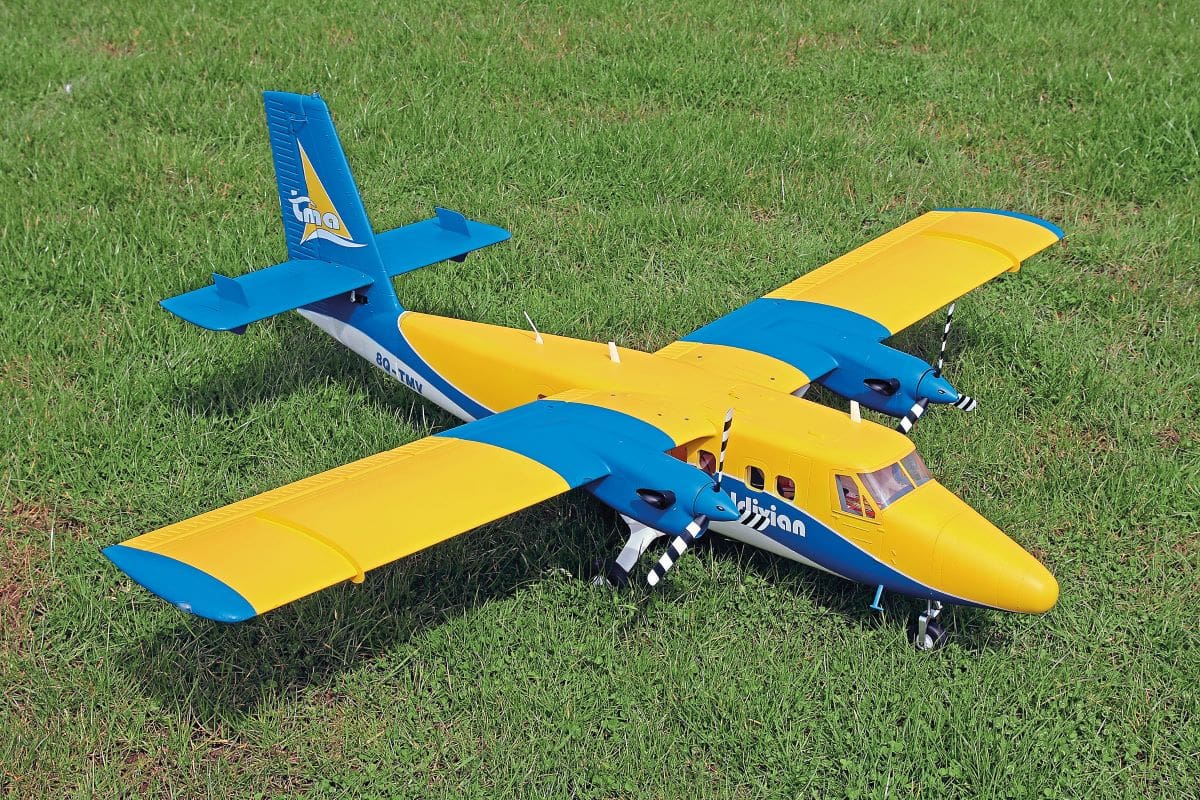
If you’ve read my past reviews of XFly-Model kits, then you’ll know that I am a bit of a fan of this brand of ARTF moulded foam model aeroplanes and this kit looks set to continue the trend. The packaging is first class, cushioning the individual airframe parts in well matched ‘shadow’ foam trays, to ward off any damage whilst in transit during the long journey from the X-Fly factory in Dongguan, China.
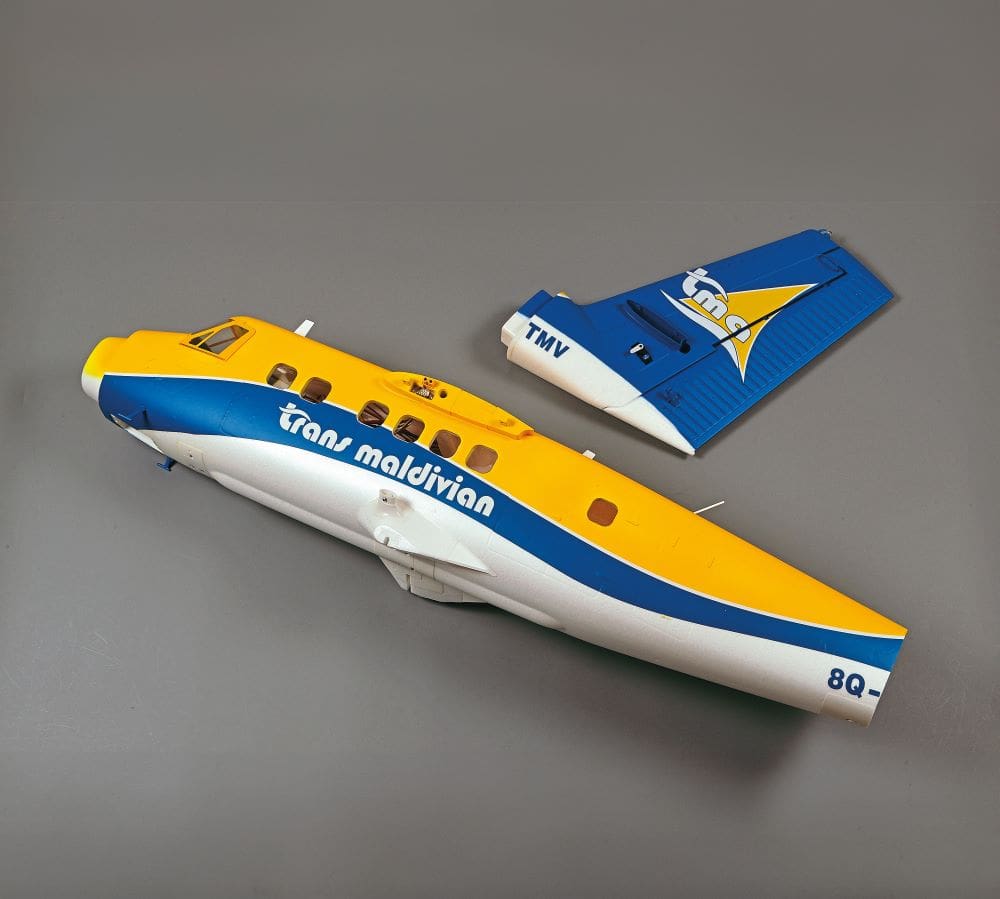
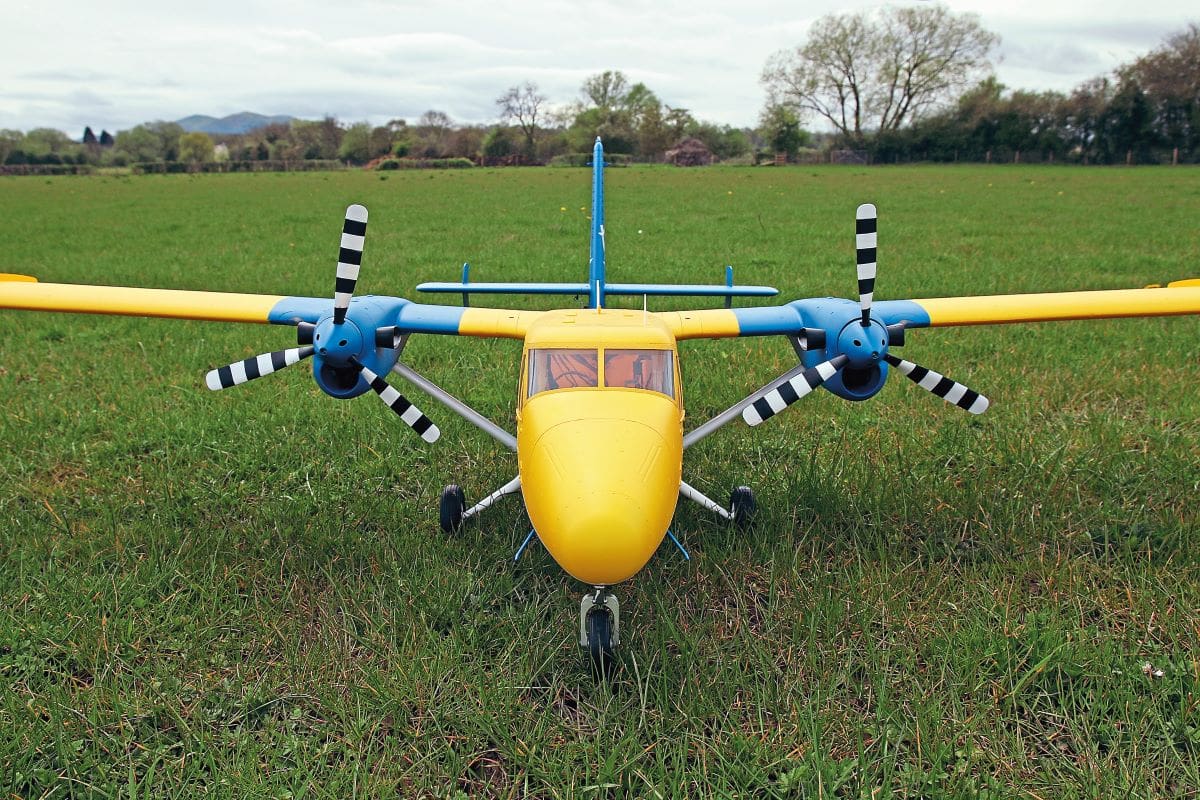
The Otter’s fuselage is in three parts, consisting of a magnetically attached nose, the main cabin and a plug-in fin and rudder unit. The cabin windows are glazed with clear mouldings, not just stickers, and the large windscreen is well suited to an FPV camera installation if you want to see the view from the cockpit.
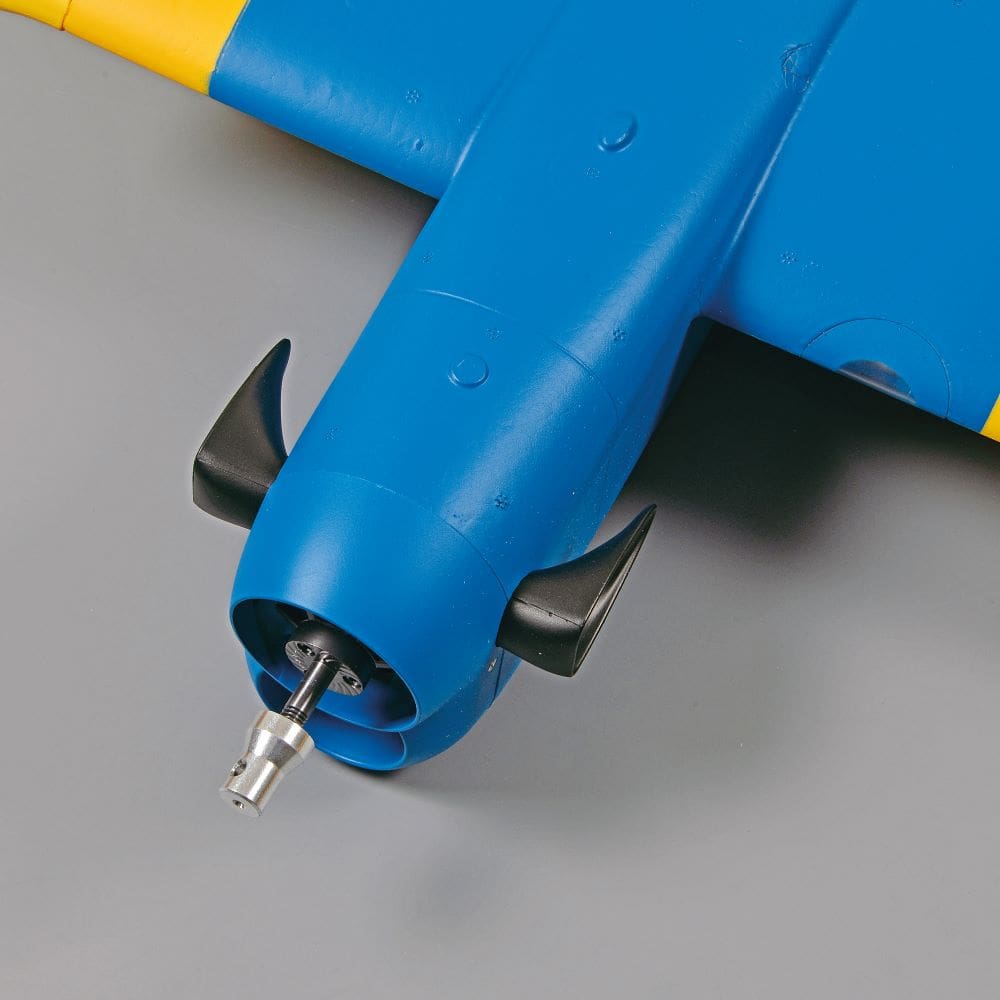
through the prop nuts. A suitably sized screwdriver shaft does the job nicely.
flexing of stiff hinge lines needed with this one!
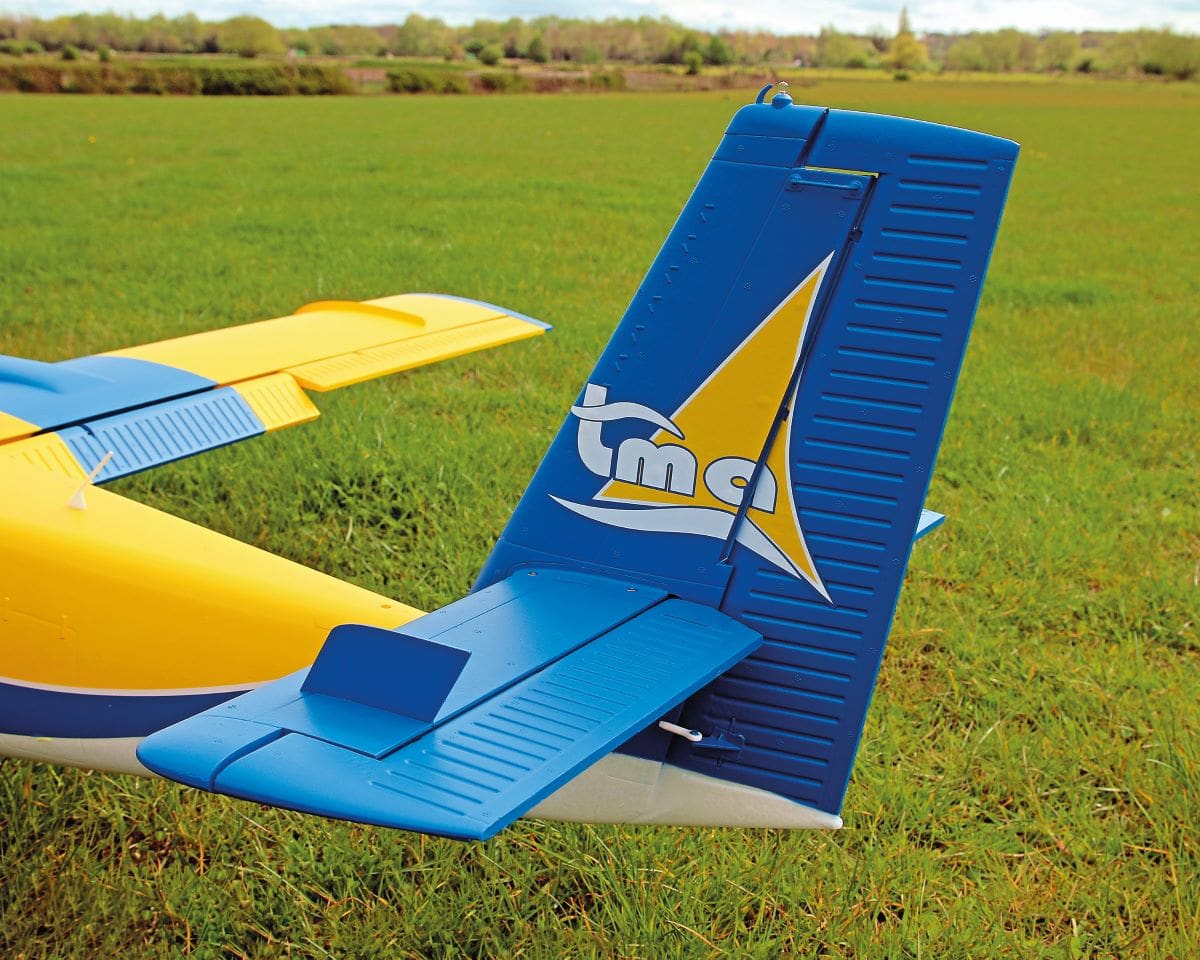
The two-piece tailplane comes with ready fitted elevators. The hinge line is shrouded in a scale like manner and the surfaces offer full and free movement, ditto hinging of the large rudder.
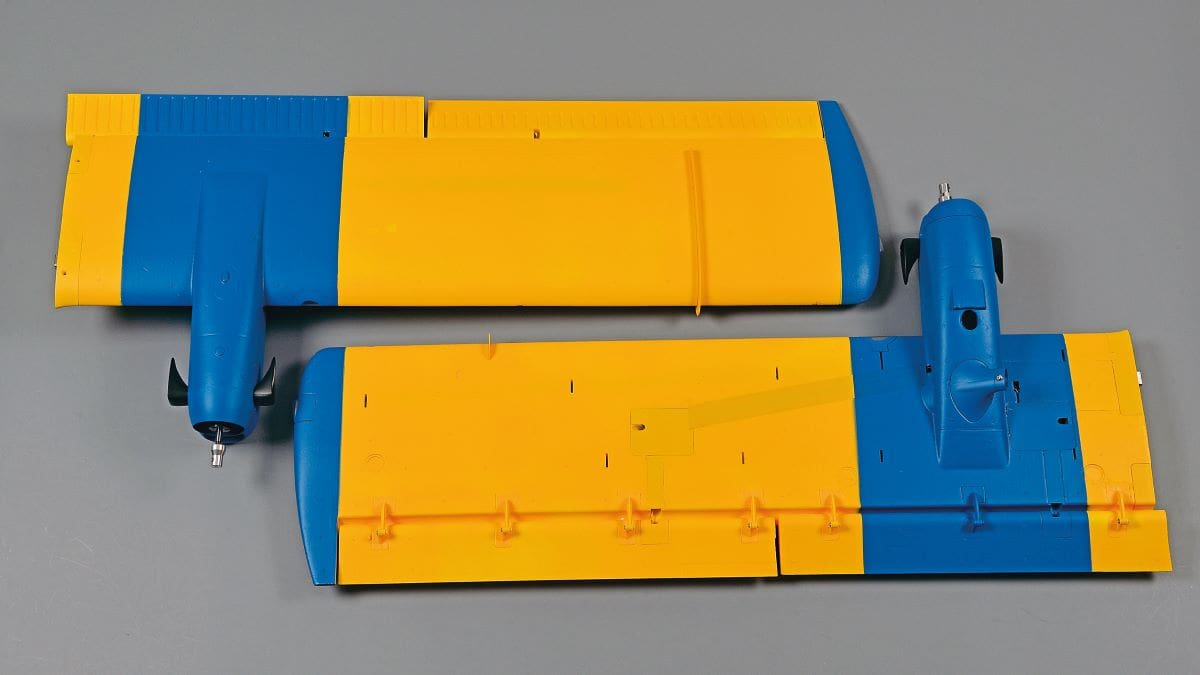
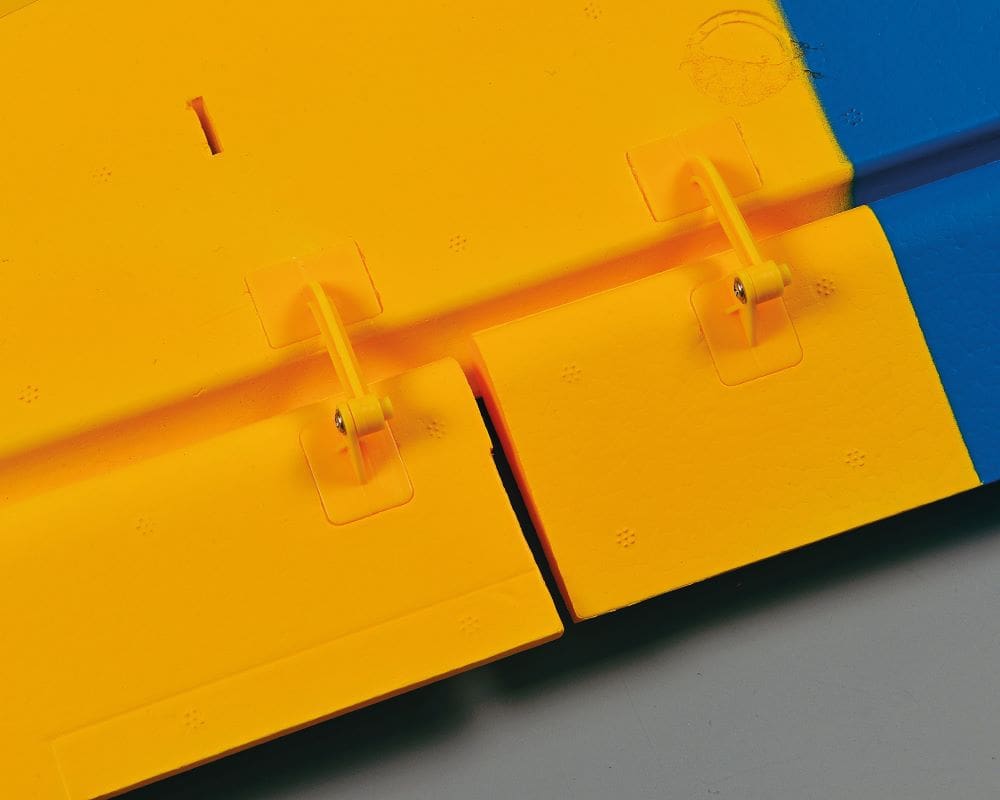
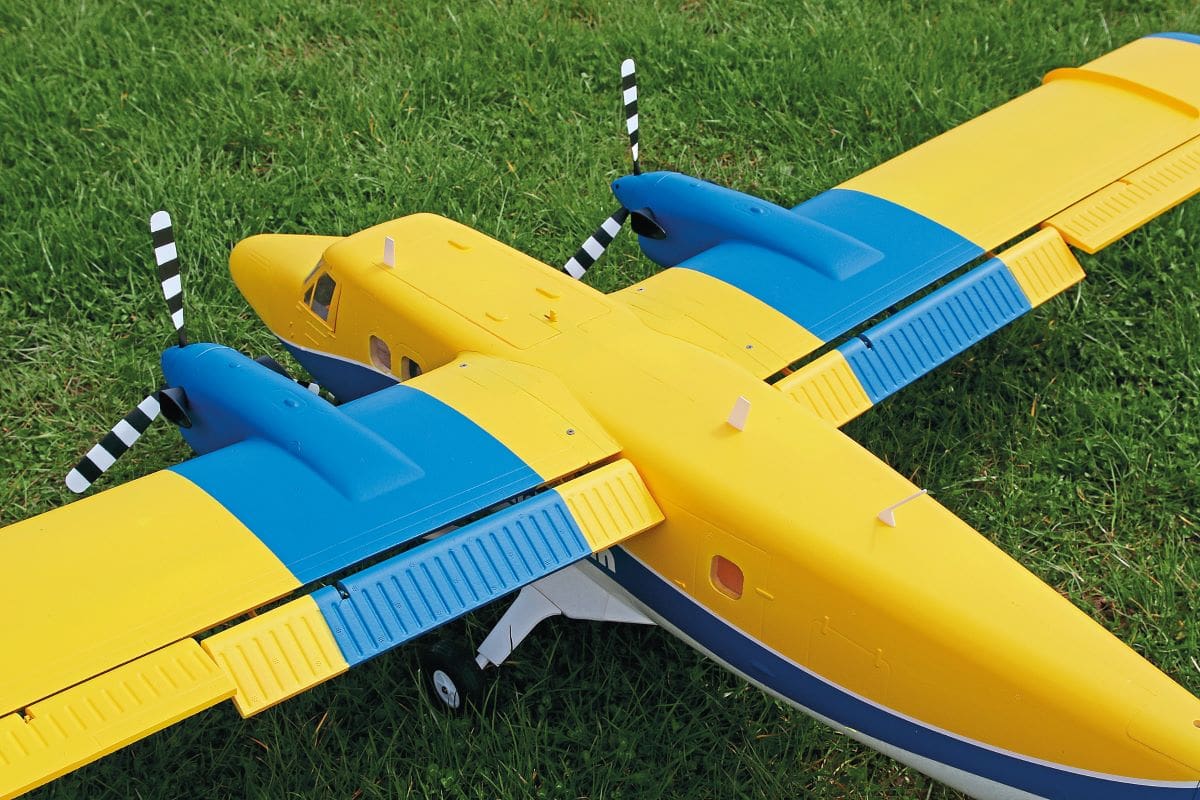
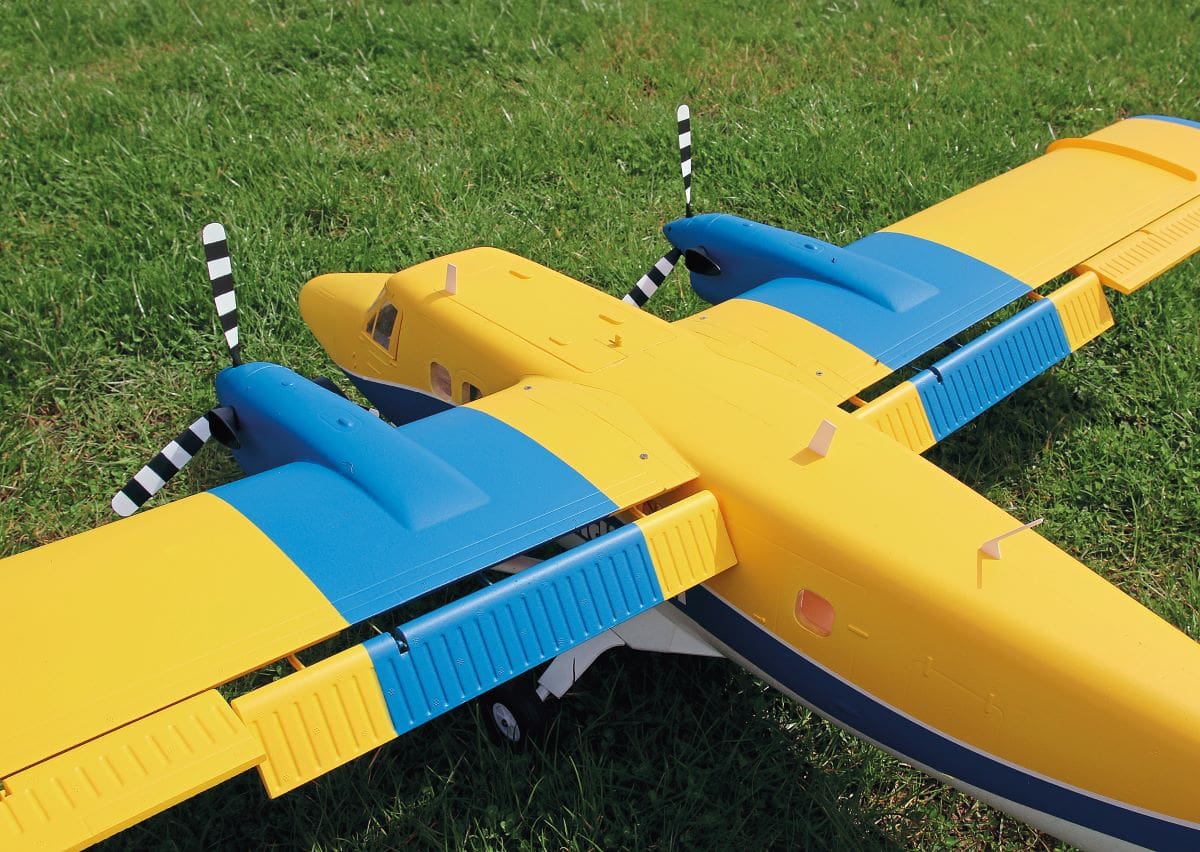
The wing panels are fully finished and like the tail controls the flaps and ailerons are shrouded and freely hinged in a scale like manner. Each flap is supported on three scale hinge arms, with four hinge arms used to support each aileron. Instructions in other flapped XFly models I have assembled have emphasised the need not to connect the flaps until after the radio has been set up to avoid overdriving the surfaces and possibly damaging the flap servos. But this is not possible in this case as the linkages are internal and covered in sprayed over panels, the same with the aileron linkages. So, the best way to proceed is to dial in very low travel for the wing servos at the transmitter so you can see what is happening to each surface, although barley moving, and increase the throws or reverse the servos as needed.
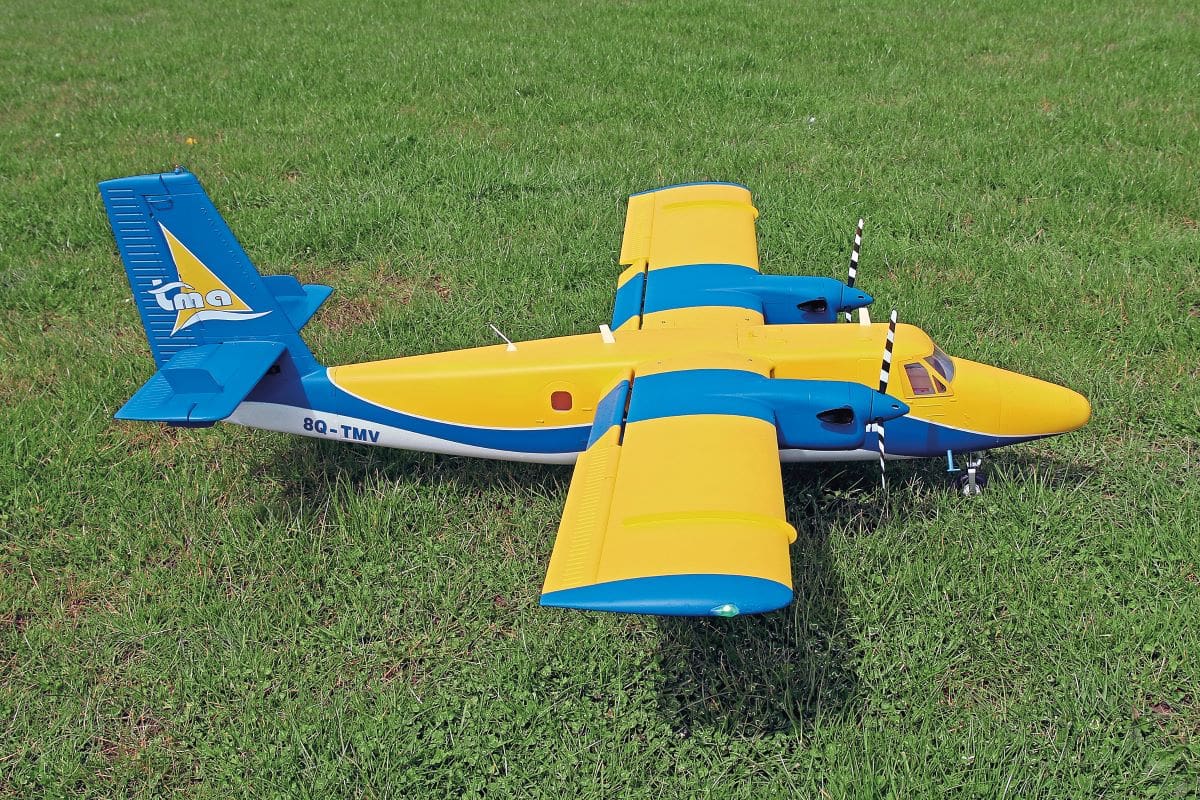
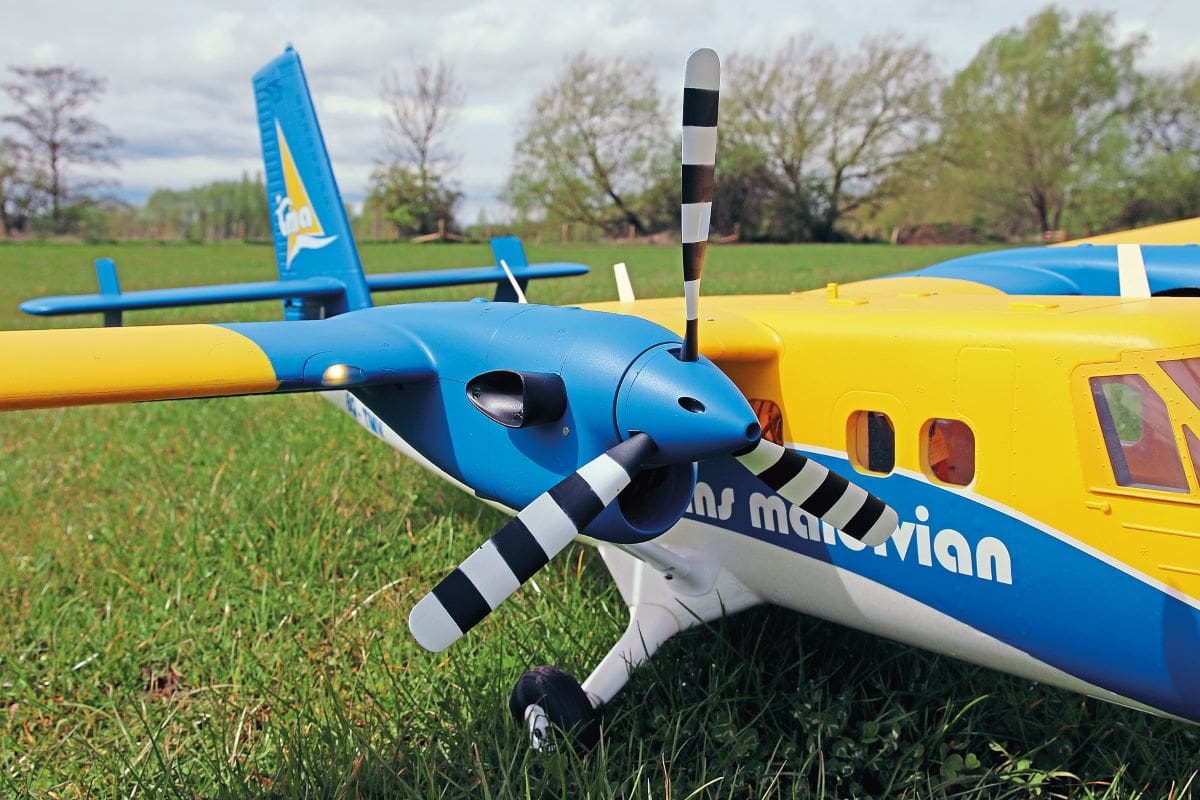
The root end of each wing panel is dominated by the elegant engine nacelles into which are fitted a 3541-KV550 brushless motor and a 40-amp ESC. At the back of each nacelle is a mounting point for the wing struts. A pair of three blade 10” x 7” propellers are supplied to fit to the Otter’s motors, along with blue spinners, neatly colour matched to the band of colour on each wing. The black props are painted with white bands and whilst on the full size this obviously provides an important visual clue whilst they are spinning, helping to stop people walking into them, I believe that the main function of the stripes is to reduce collisions with birds, especially gulls, bearing in mind that the Twin Otter is often used as a seaplane. This is definitely true of the Trans Maldivian Airways example replicated here, which neatly brings us onto the available undercarriage options.
FLOATS OR WHEELS
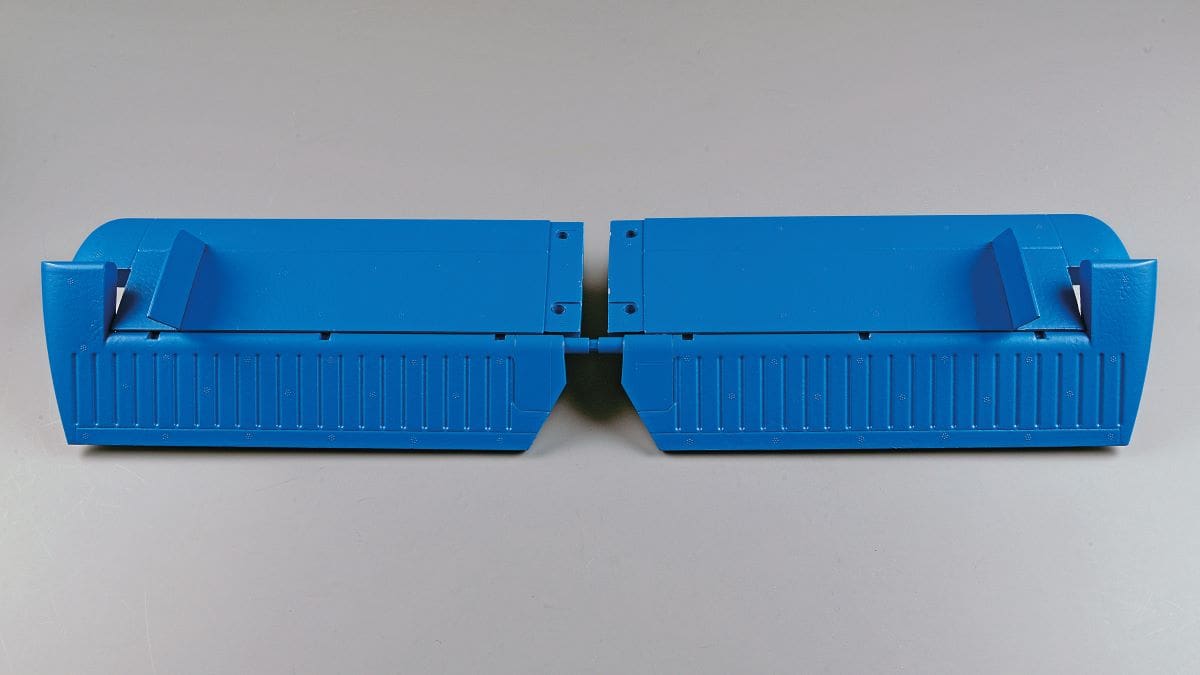
If you have discovered the joys of floatplane flying, then you’ll realise that there’s no going back – it’s highly addictive! For likeminded model fliers the discovery of a pair of floats in an ARTF kit, as has become quite common in recent times, is a distinct bonus. But if you have no interest in flying from water (trust me, you’ll love it!) then I can imagine it must irk somewhat to find yourself paying for additional parts that you will probably never need. Hats off then to XFly-Model for recognising this and for providing two options of this kit, both having wheels but with the floatplane version also including a pair of long and nicely moulded floats, the port one of which also includes a water rudder with an internally coupled 9 g digital servo.
As my local float flying lake must be approached over cow pasture, the sodden condition of which is not currently suitable for driving on, then this model’s baptism from water will have to wait for another follow up article. It may coincide with the maiden flight report, but we’ll have to wait and see. So, wheels it is for now…
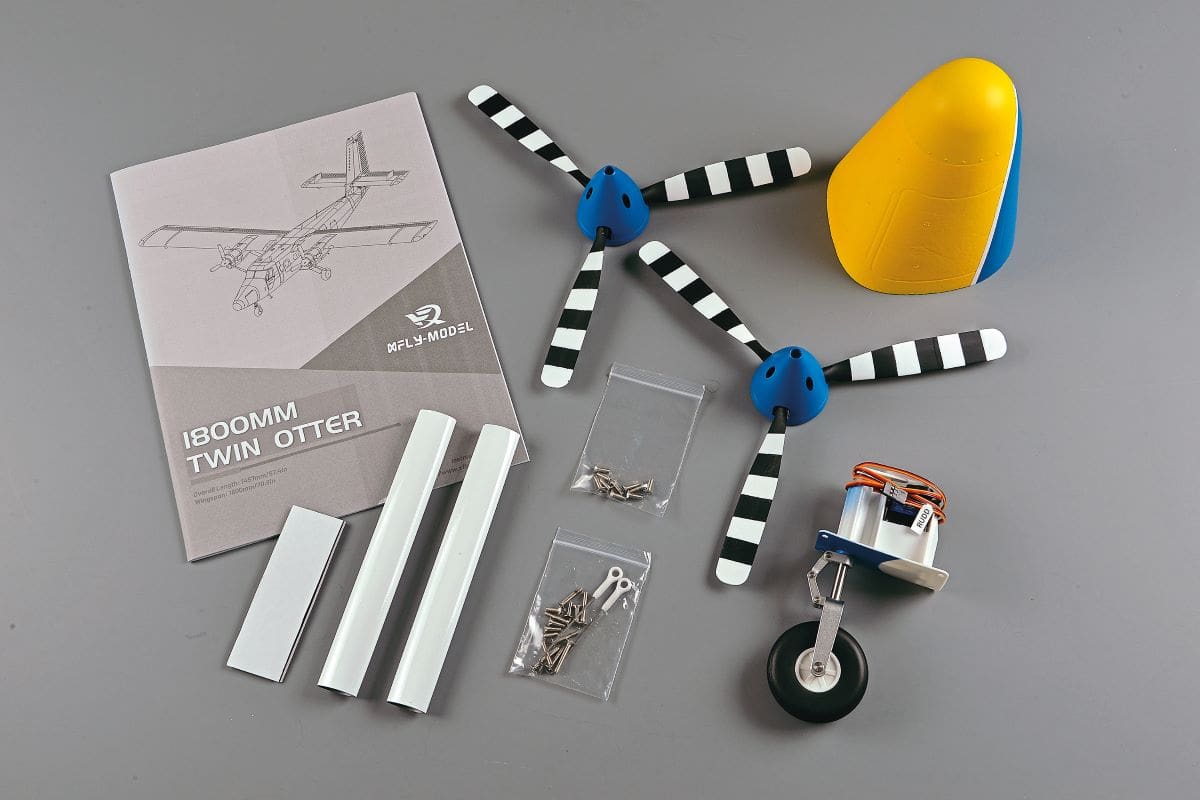
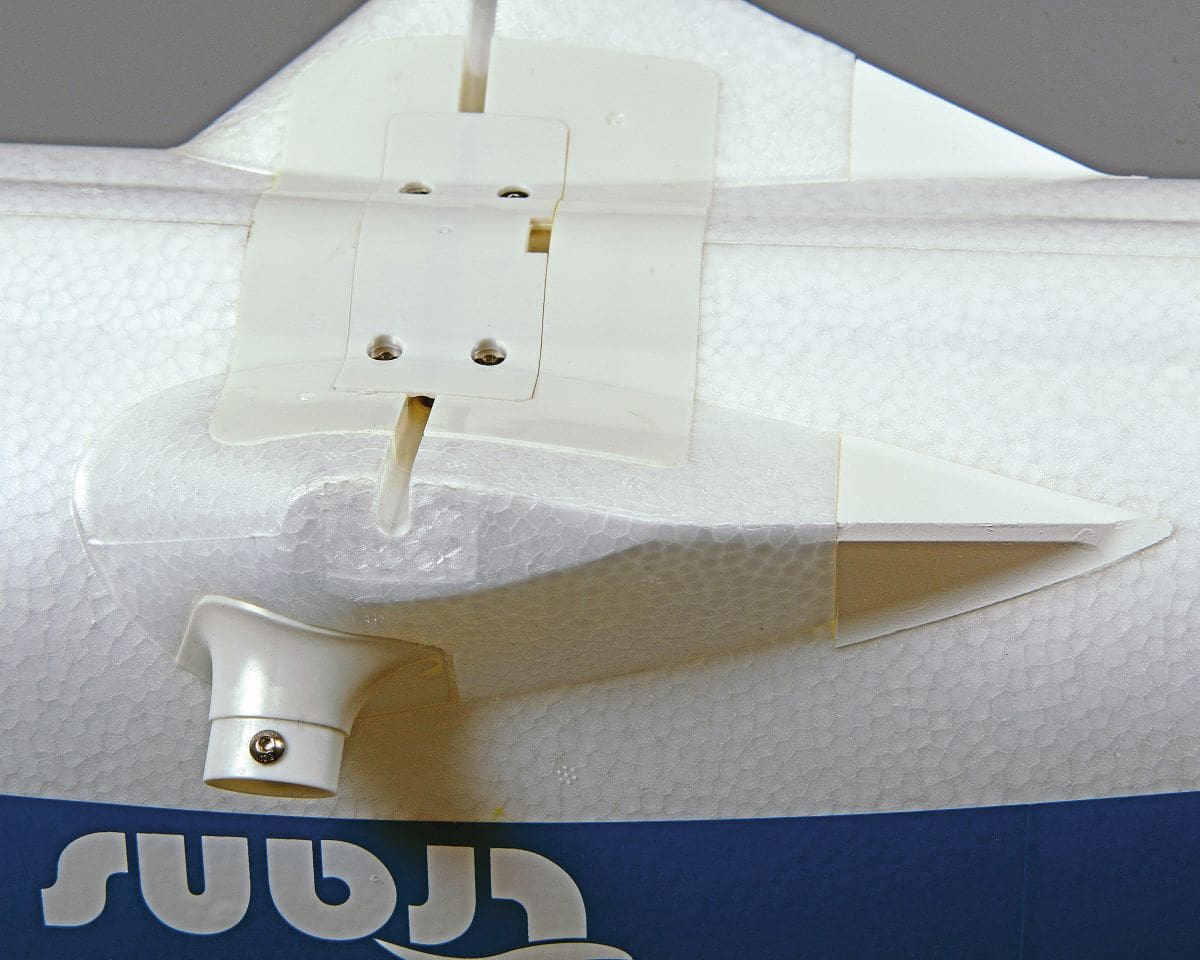
There are no squash flat foam tyres fitted to this model, each white wheel hub being enclosed by synthetic rubber tyres. The factory assembled main undercarriage includes a fairing on each leg that matches up with tear shaped mouldings on either side of the fuselage. The upper side of each tear shaped moulding also provides the mounting point for a wing strut. Between the tear shapes is the main undercarriage mount. The preformed U-bend in the wire legs simply drops into a deep slot where it is then covered by a broad plastic plate and secured with four 3 x 10 mm countersunk screws.
The steerable nose wheel comes as a ready to fit unit, complete with servo, and this simply drops into a matching hole in the nose where it is secured with four small screws.
ASSEMBLY
This must qualify as one of the speediest foam models that I have ever assembled, which is especially notable because of its size. At just over 57 inch span it is no tiddler! What little construction there is well detailed in the 17- page illustrated manual. (Actually, it’s double that but the rest is in Chinese.)
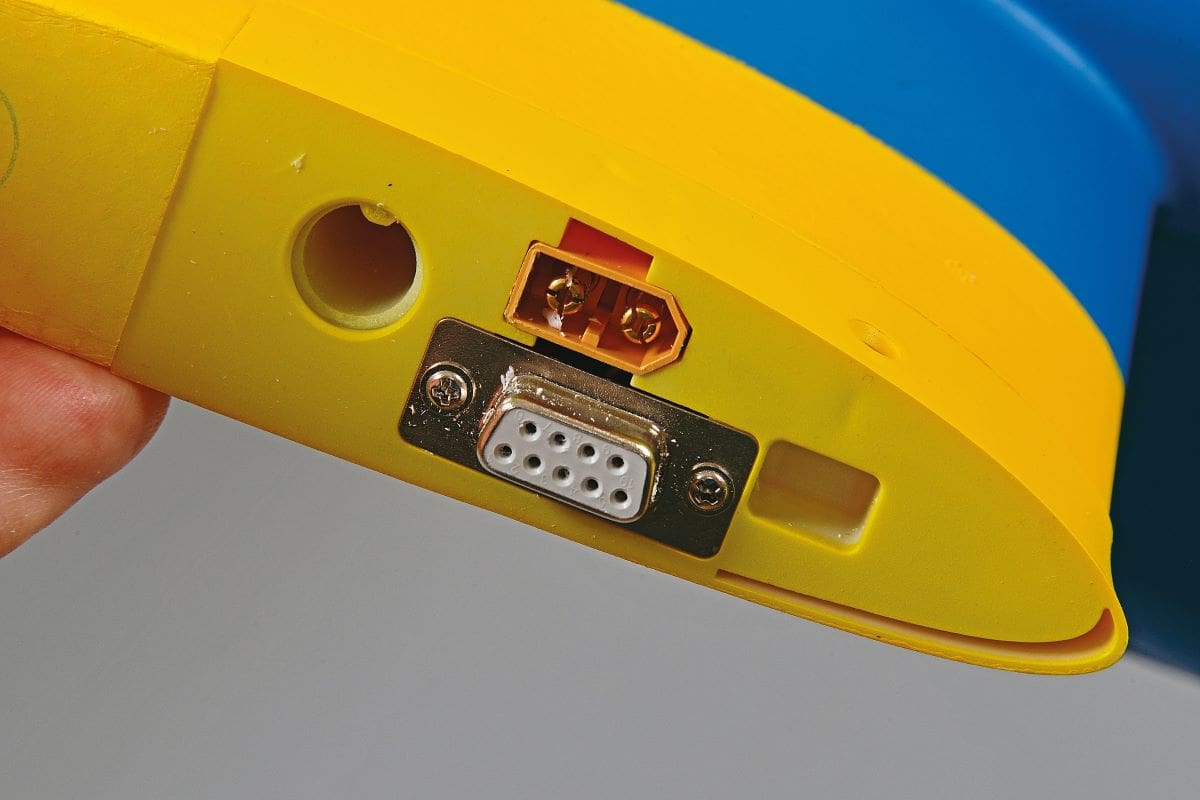
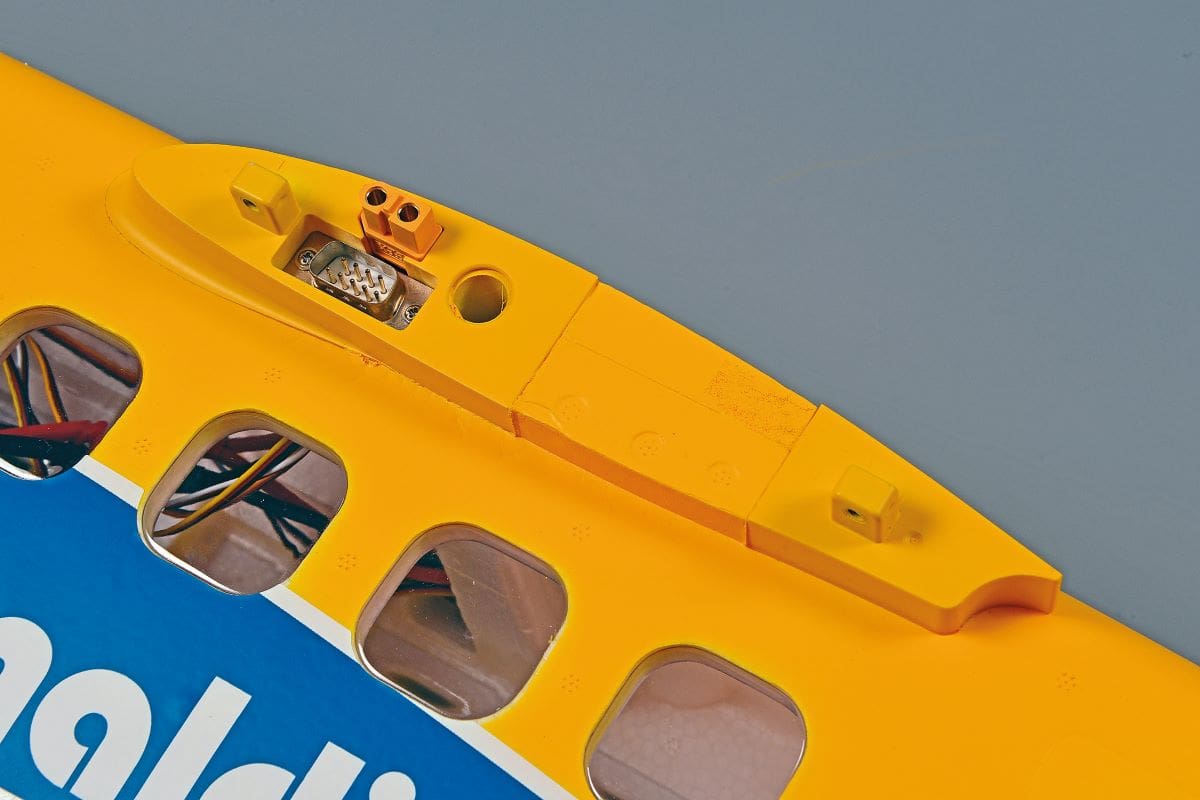
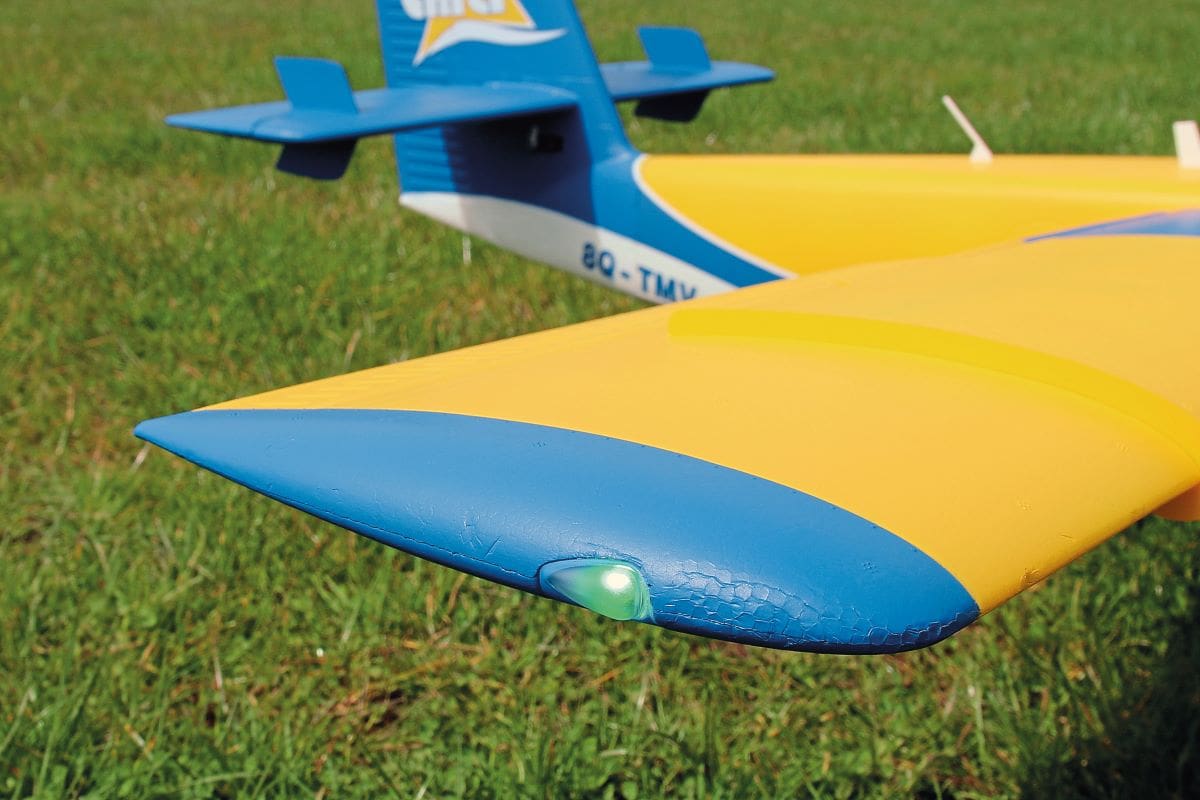
First job is to attach the wings, which slide onto a 550 x 10 mm wing tube. Each panel is secured with a pair of 3 x 16 mm countersink hex headed screws. At first try it is a bit of a fiddle as whilst sliding on the wings you also have to line up the wing struts. This is made easier if the struts are fixed to those tear shaped U/C mounting fairings mentioned earlier, leaving just the wing end of each oval shaped strut to be matched up with its corresponding fixture underneath each nacelle. You also have to connect the XT60 connectors that feed power to the ESCs and motors via a Y-harness. The XT60s are a snug fit in matching holes in the wing roots so it’s best to give them a head start by partially inserting them in their slots. Servo and navigation / landing light connections are taken care of by self-aligning 9-pin D-connectors.
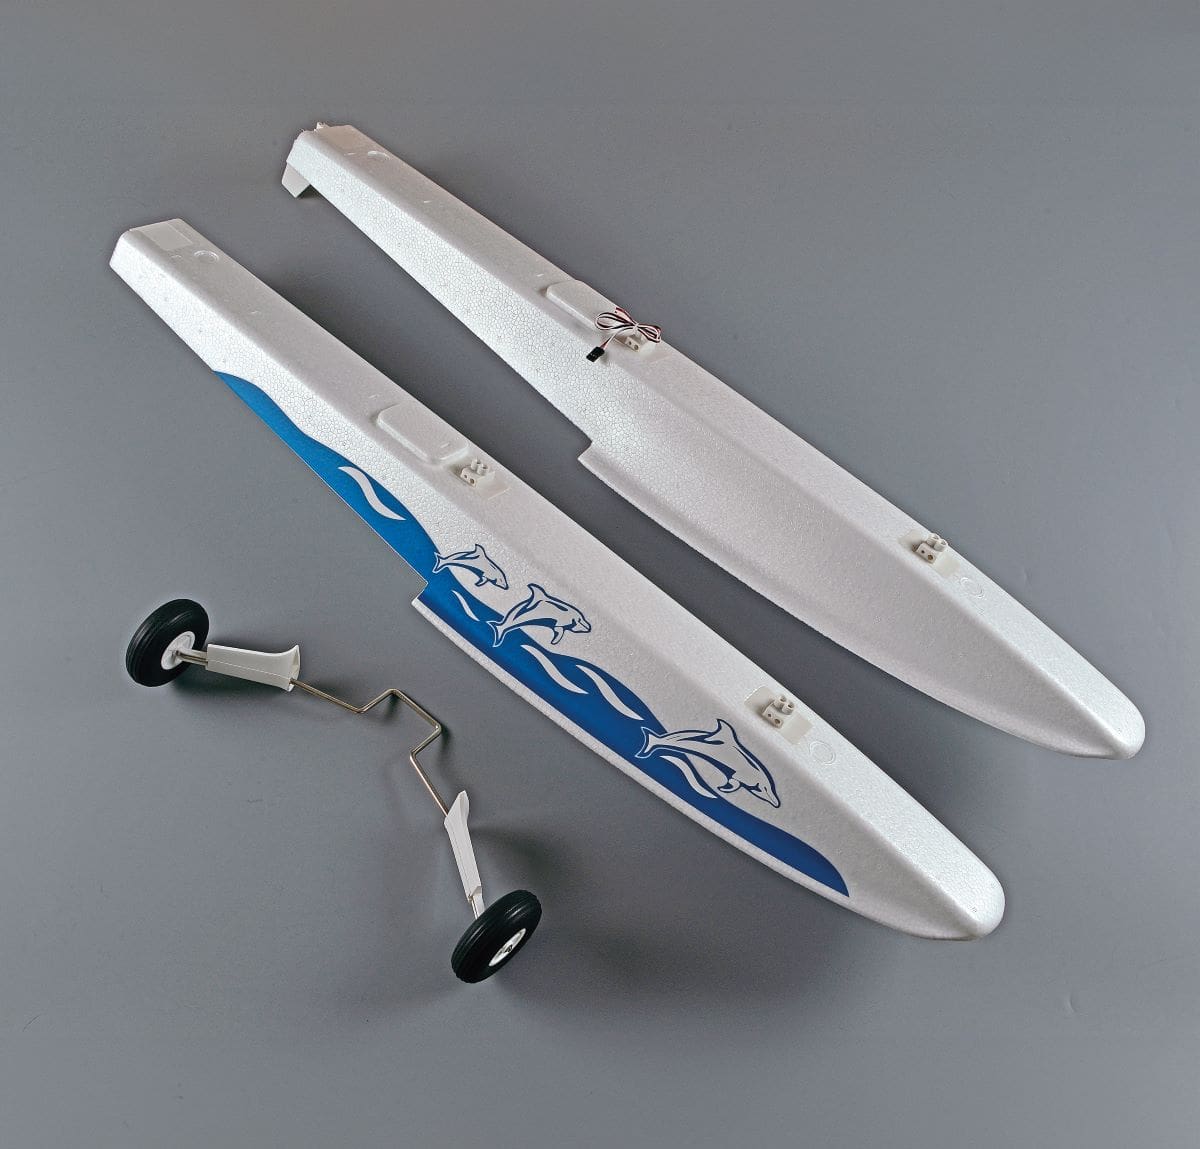
wheels options. I’ll be testing her fitted with floats in
a future issue.
the model.
Next, the landing gear is fitted, as already detailed above, before attention turns to the tailplane, both sides of which slide easily onto their 400 x 8 mm joiner tube. The elevators are kept lined up with each other thanks to square mating ends on each joiner. Another pair of small countersink screws secures each tail half in place.
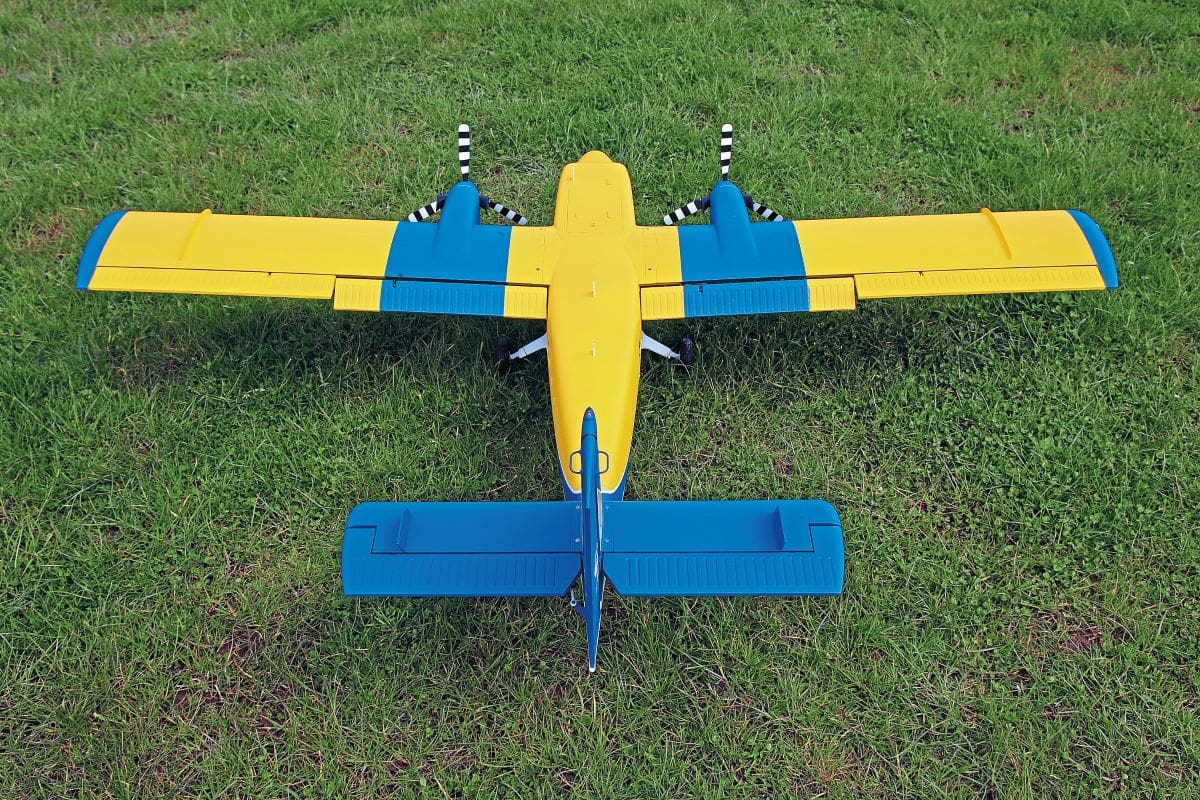
With the horizontal stabiliser fitted the completed tail unit can be attached to the main cabin. An inner moulding extends a few centimetres into a matching hole in the back of the cabin where it is secured in place with two 3 x 20 mm screws. The fit is closely matched and there is no slop after the screws have been tightened, which is just as well as no-one wants a floppy tail! The line up of the horizontal stabiliser is thankfully spot on too (see the nearby picture looking over the wing), which is a big relief as there is no provision to adjust the tailplane. Good work, XFly-Model!
All that’s left to do is to pop on the magnetic nose and fit the props and spinners.
SETTING UP
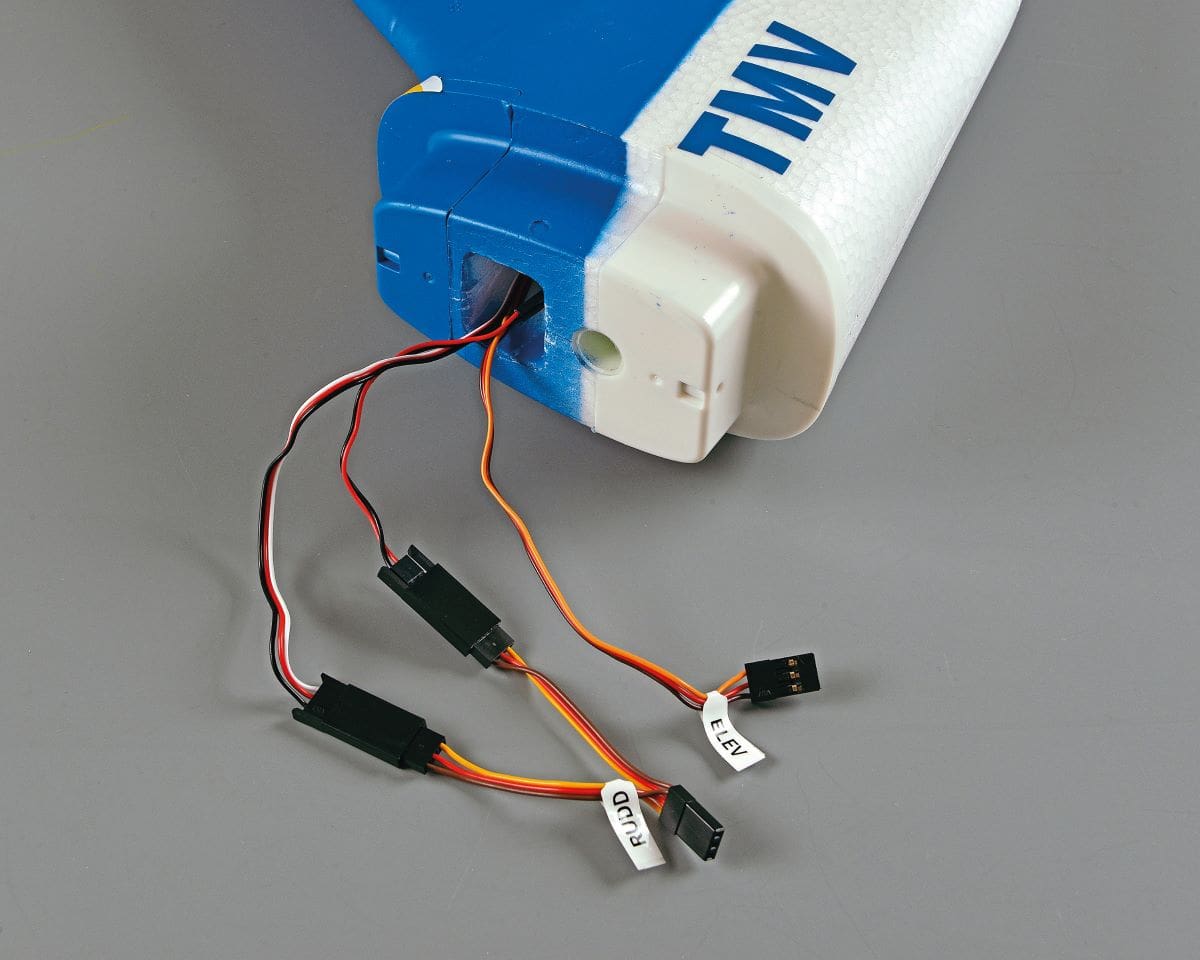
The rudder and elevator servos are located in the tail, just under each tailplane root. They can be quickly linked up using the pushrods provided. Only minor adjustments were necessary. The pushrods have Z-bends at the servo arm ends and pop on ball-links at the control surfaces. As stated earlier, the ailerons and flaps are operated via internal pushrods so there is nothing to do regarding the wing.
All controls were set up as per the manual and I also dialled in a two-stage flap to elevator mix, as suggested, to help stop the model from ballooning upwards when the flaps are deployed. The amount of mix will need to be fine tuned during flight testing but as with any mix it’s best to start small and increase it in small steps if necessary. I also used my new Futaba Tx to slow down the flap servos so that they deploy in a more scale like fashion rather than just dropping instantly. I have no idea how fast the hydraulic flap actuators are on the real aeroplane but it’s quite pleasing to see the flaps deploy in such a steady manner.
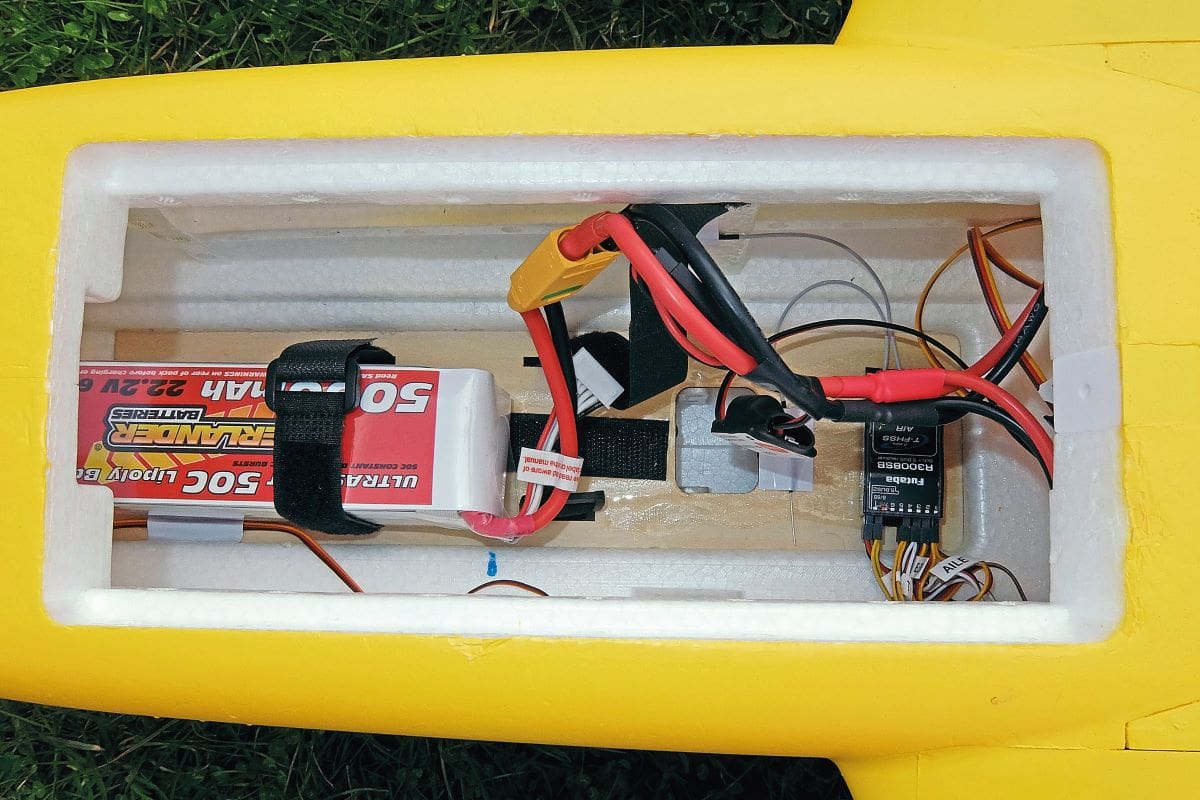
The recommended CG setting is 61 mm from the leading edge of the wing. I will be using 5000 mAh 6S packs for this model, which are at the bottom end of the 5000 – 6000 mAh range. Even so, I was a bit surprised to see these fairly hefty packs slowly disappear into the forward end of the battery bay. Eventually the model balanced at 61 mm, or thereabouts as I had to resort to ‘fingers under the wings’ as the nacelles were interfering with the arms on my balancer. This meant that I could only use the forward one of the two hook & loop straps provided to secure the LiPo. But as I always use additional Velcro strips to secure the battery packs in all my planes there’s no danger of the LiPo moving, even if I find that the Twin Otter is capable of some mild but decidedly non-scale aerobatics!
NEXT TIME
Hoorah! At long last it would seem that high pressure is on its way, if only briefly, so in the next couple of days I am hoping to make the journey to one of my clubs with a flyable strip. I’ll be taking the Twin Otter along, hoping to maiden her if all goes well. Wish me luck!
DATAFILE
Model: 1800mm Twin Otter
Model type: ARTF scale twin
Manufacturer: XFly-Model
UK importer: CML Distribution
https://www.
cmldistribution.co.uk
RRP: £439.99 (no floats) or
£499.99 (with floats)
Length: 57.4″ (1.46 m)
Wingspan: 70.9″ (1.8 m)
Flying weight: 8.82 lb (4 kg)
Wing loading: 87.5 g/dm²
Wing area: 620 sq. in. (40 dm²)
Motor size: 3541-KV550 x 2
ESC: 40A x 2
Props: 3-blade 10” x 7’’
Servos: 13 g & 9 g digital MG x 5
(plus 1 in float set)
Functions (servos): Ailerons, elevator, throttle,
rudder/steering, flaps
CG: 61 mm from leading edge
LiPo: 6S 5000 – 6000 mAh


